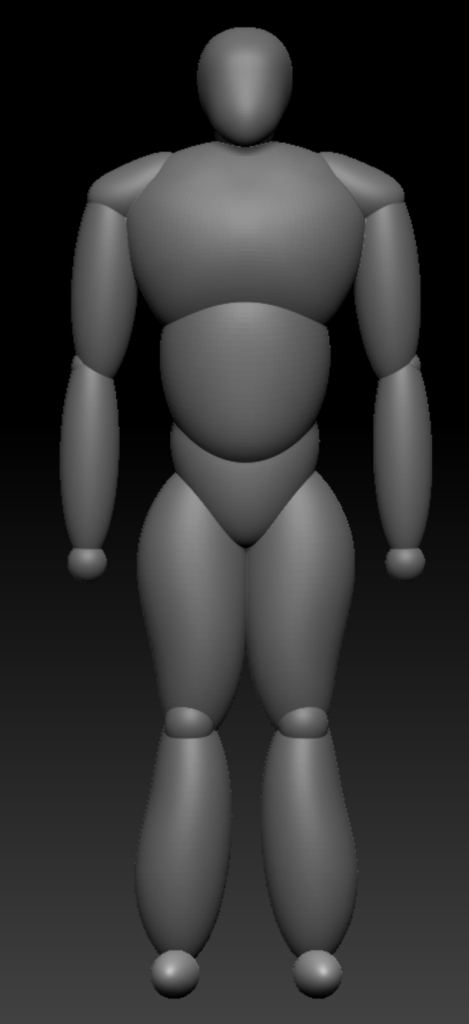
To start creating my character in ZBrush, I blocked out a simple outline of the body. To make sure this was accurate, I used a reference image of the human body. Following this as a guide, the first thing I did was create the mid section of the character using a sphere and the move brush. I then duplicated this and moved it upwards. I increased the size of the object and then used the move brush again to manipulate it into place. I then used append to place another sphere and put it below the midsection. I used the move brush to adjust it into a triangle like shape, this was the pelvis/crotch area. After this, I used append to create another sphere and made it longer on the y-axis. I then used the move brush to make it larger at the top and gradually get thinner as it moved down, this was to be the thigh. I placed it below the pelvis and used mirror on x-axis to mirror it to the other side. I then duplicated the object and turned it upside down. I placed it below the thigh as it was to be the calf. I again mirrored on x-axis. I then placed a small sphere between the two to be the knee, I slightly adjusted the object with the move brush and mirrored it. At the bottom of the calf, I placed a small circle and pulled it out to be a foot, I then mirrored this also. Atop the chest, I place a circle and pulled it out slightly to the side pushed it down at the top to make a slope, this was a shoulder. I mirrored this to have it on the other side. I then used the same process as the legs to make the arms. To make the neck I placed a circle and increased its length on the y-axis. I then placed a larger circle on top and pulled it down slightly at the front to be the head.

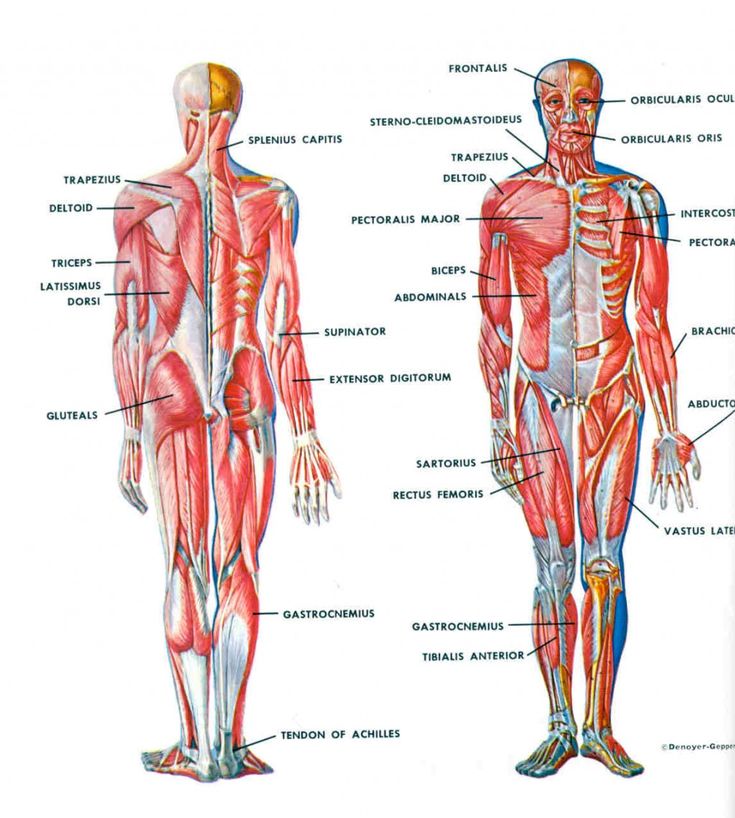
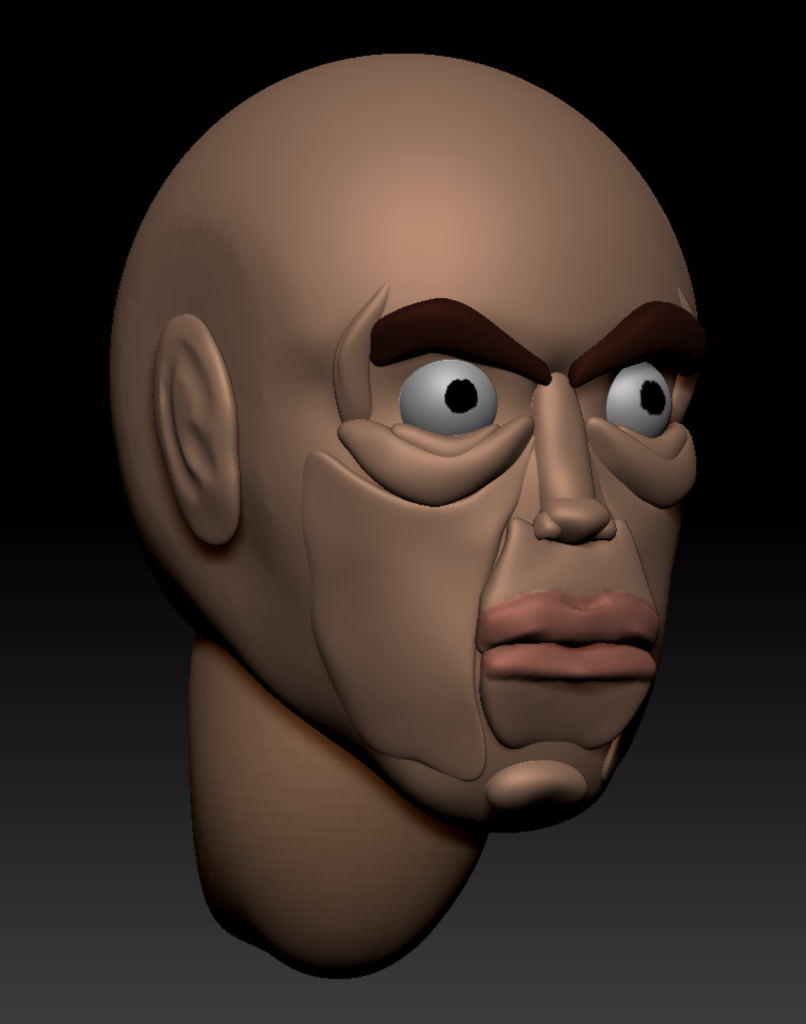
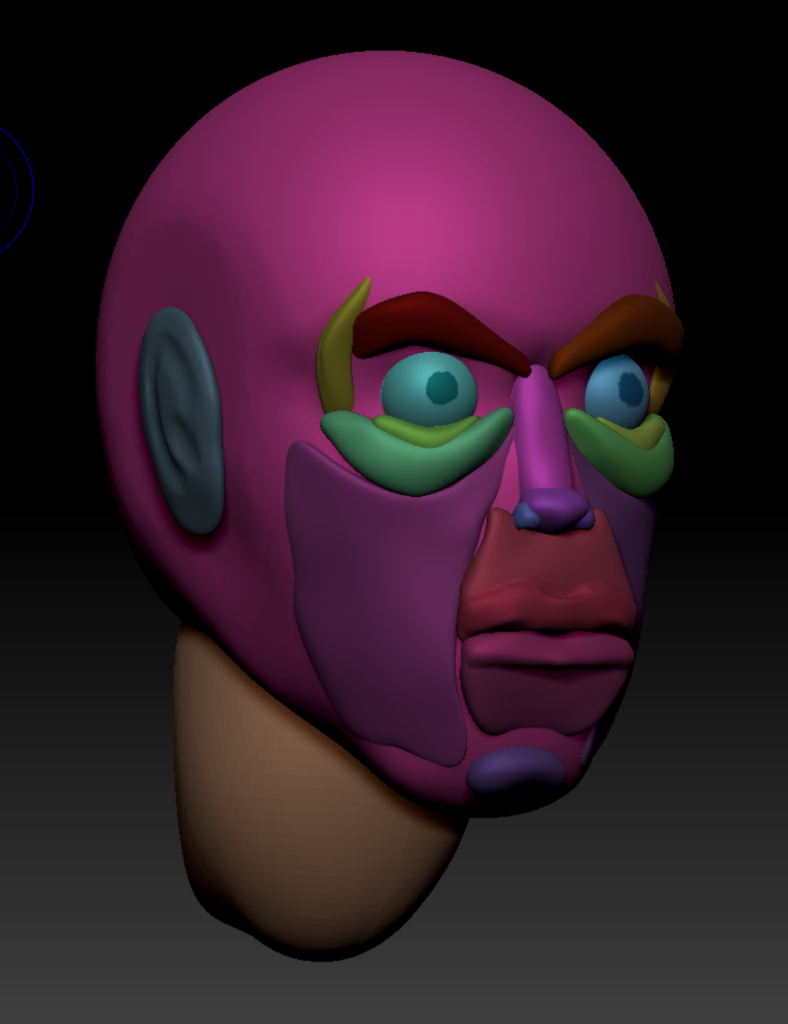
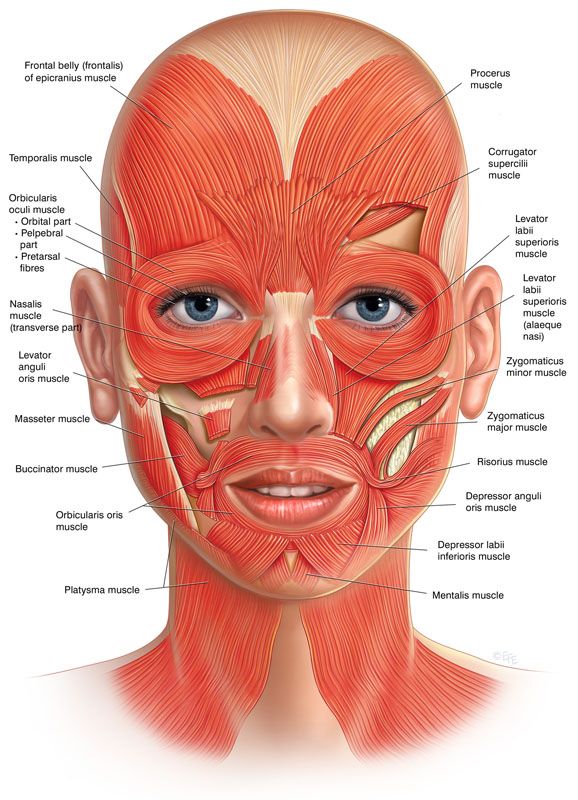
Once I had blocked out the body, I began working on the face. When making the face, I used reference of where the muscles of the face are located so I could get a realistic representation. In practice, this did not come through. To start I masked off a third of the head, leaving the front bottom section unmasked. I then used the move tool and pulled down on the unmasked area. This made the object look more like a skull. I then used the rectangular trim tool to cut off the sides of the head to give it a plane like an actual head would have. Following this, I used the dam standard brush to put a line through the skull right where I would want the eyes, this would be the representation of the brow line. I then used append to create another sphere and altered the shape of it and placed it in the center of the face, this would be the ridge of the nose. I placed another altered sphere at the bottom of this to act as the tip and two more on each side to be the nostrils. After I had finished the nose, I created the top of the cheek. I did this by creating a sphere, elongating it and then moving the ends with the move tool. To have this on both sides of the face, I used the mirror on x-axis function to mirror the object. I then duplicated and shrunk the object down and moved it up slightly to sit on top of the larger one. I then, again, duplicated the top of the cheek and flipped it upside down, this would be the eyebrows. Finally, I duplicated the object for a last time, rotated it and placed it on the side of the face for the temple. The next thing I did was append another sphere and placed it below the nose. I used the move tool to pull the corners into place and duplicated it. I then rotated the duplicated object to be upside down and slightly adjusted the edges , these were the upper and lower lips. After that I appended another sphere and stretched it across the side of the face to be the cheeks. I mirrored the object on the x-axis to have it on both sides. I then chose the clay build up brush and held alt to make the eye socket. I placed two appended spheres in these sockets. To make the lips pop out a bit more, I drew over them with clay build up and then smoothed them. I then appended another sphere and placed it below the lips, this would be the chin. Finally, I appended another sphere. I stretched this sphere on the y-axis, used clay build up with alt held to make an indent in the ear and smoothed it. I the went to the polypaint tab and turned on colorize. I turned off ZAdd so I wouldn’t be adding anything to the model and chose a color I liked for the skin. I then painted the entire head. After that I chose a brown color and hid all but the eyebrows so I could paint them without effecting the rest of the model. I then went back to the head, chose the eyes and hid the rest of the model. I painted them white and then put a black dot in the center to be the pupil. Finally, I painted a slightly pinker tone of the the lips. After I had completed the head, I raised it slightly as it was sitting too low on the neck. I also found that the neck was too large and the the scaling tool to reduce its size slightly.
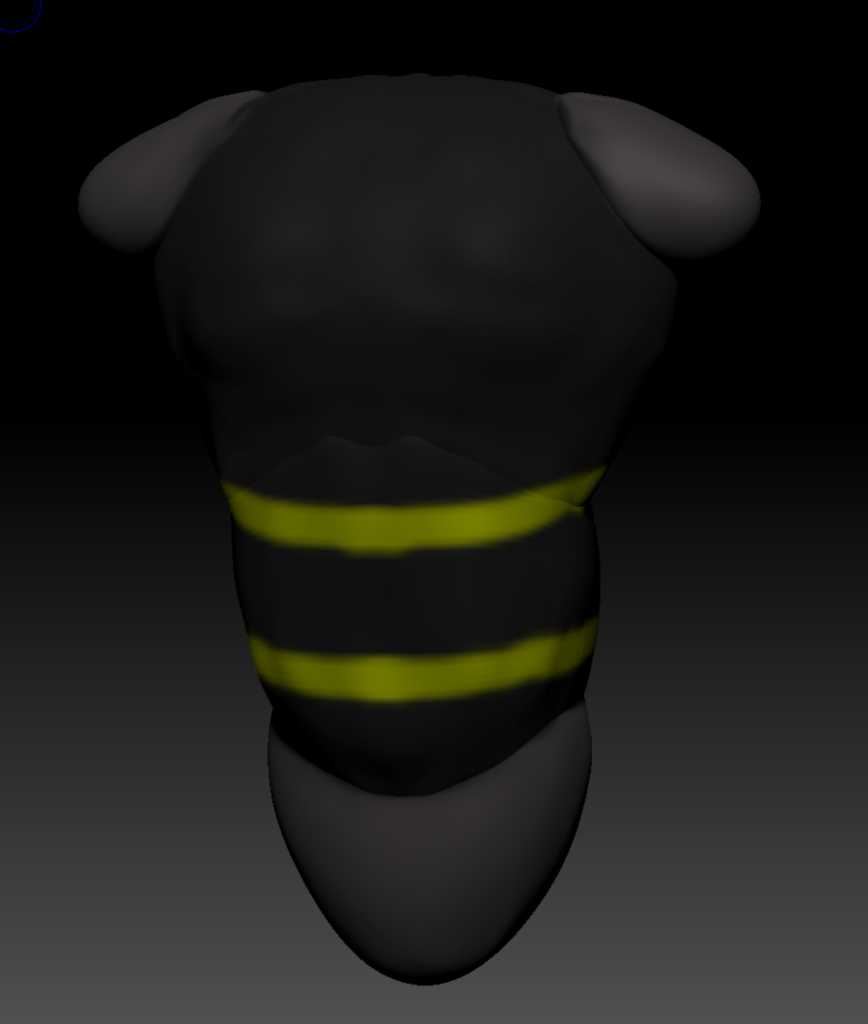
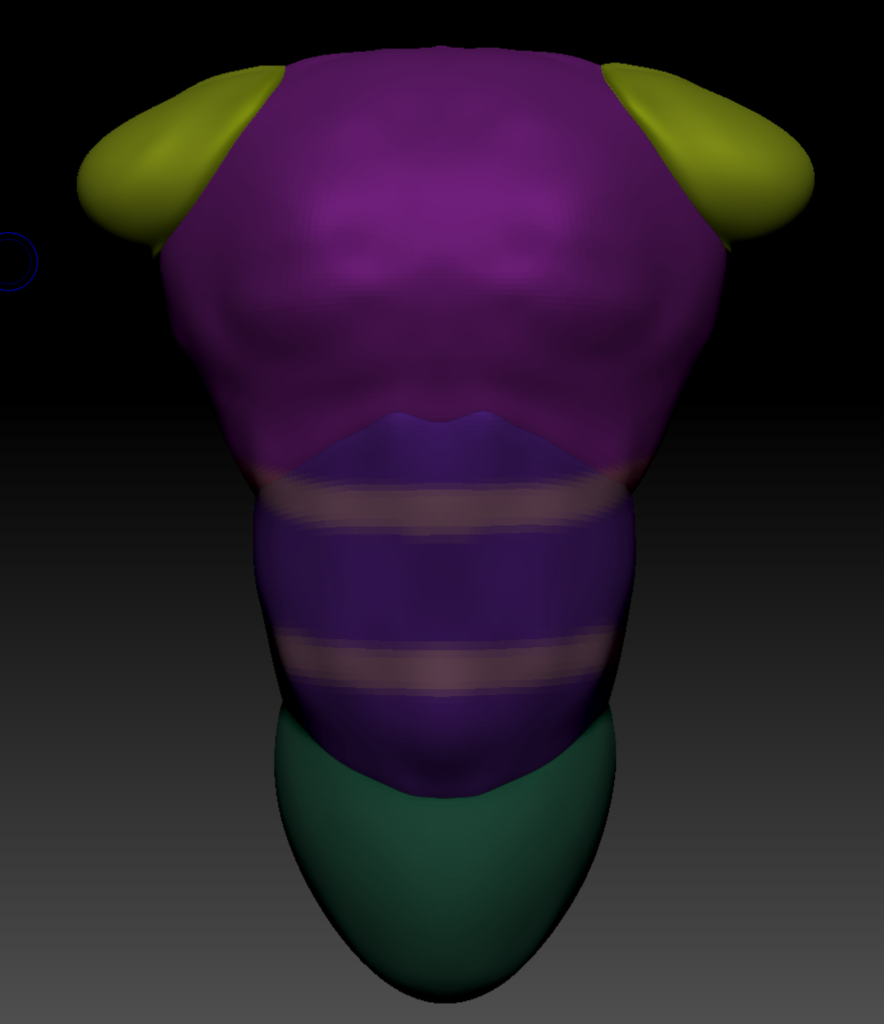
I used the clay build up brush to increase the size of the upper chest. I then smoothed over it. I then went to polypaint and chose a gray color, I colored the entire torso. This is the thermal shirt underneath the body armor the character wears. I then chose the chest and stomach section and hid the rest. I painted this black and added yellow striped. This is the body armor with high visibility strips on it.
After I had finished the chest I painted the arms. I painted the top section the same gray as the torso and the lower section the skin color I had to chosen to give the character sleeves that cut off halfway down the arm.
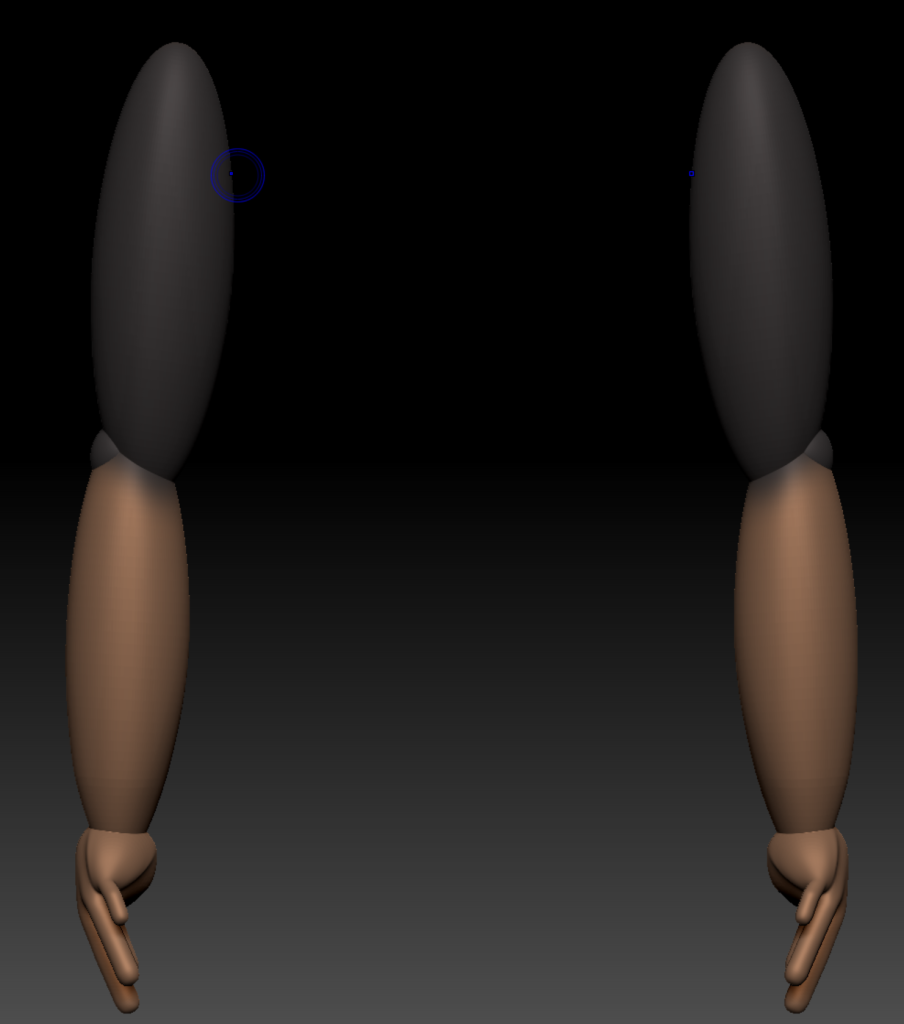
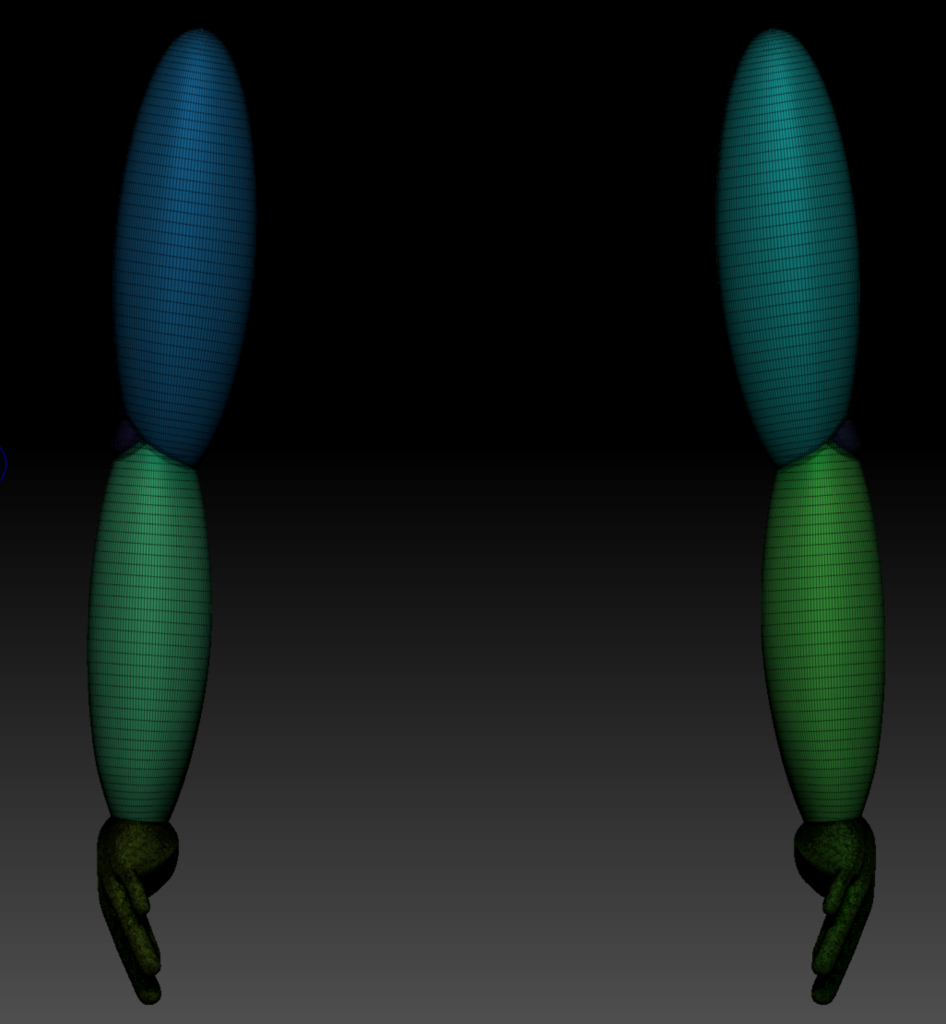
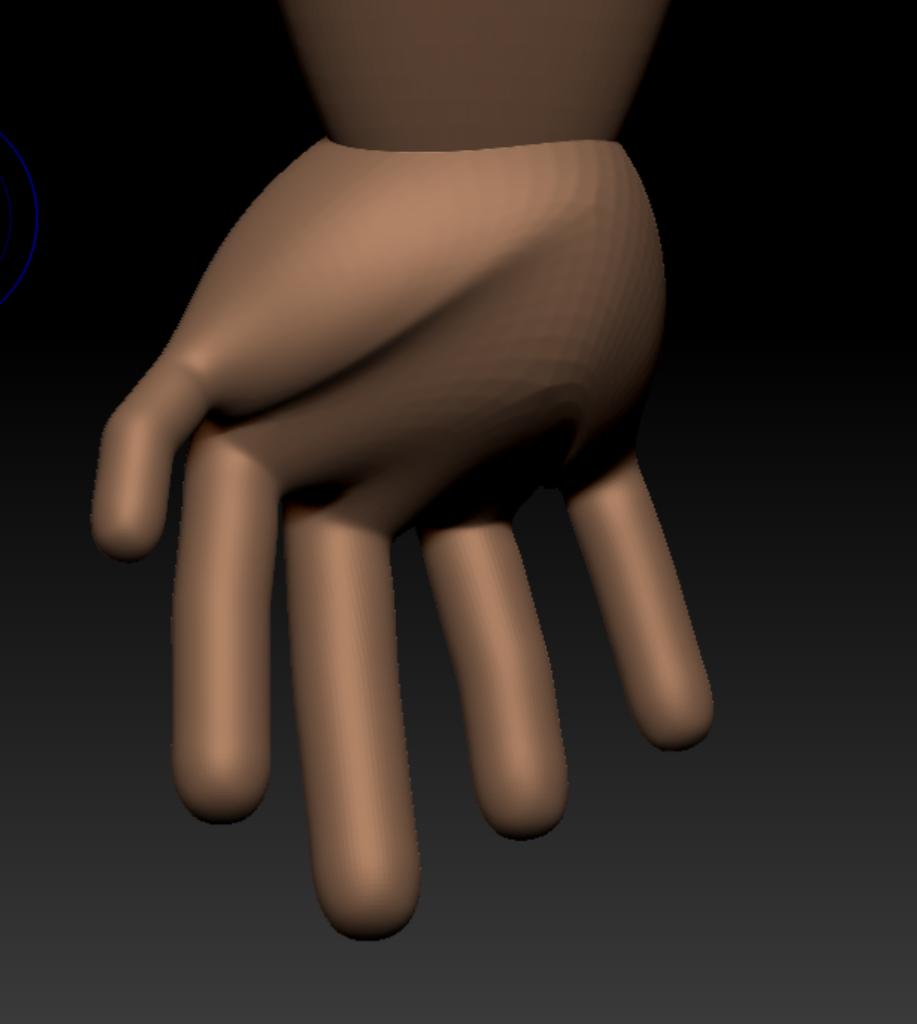
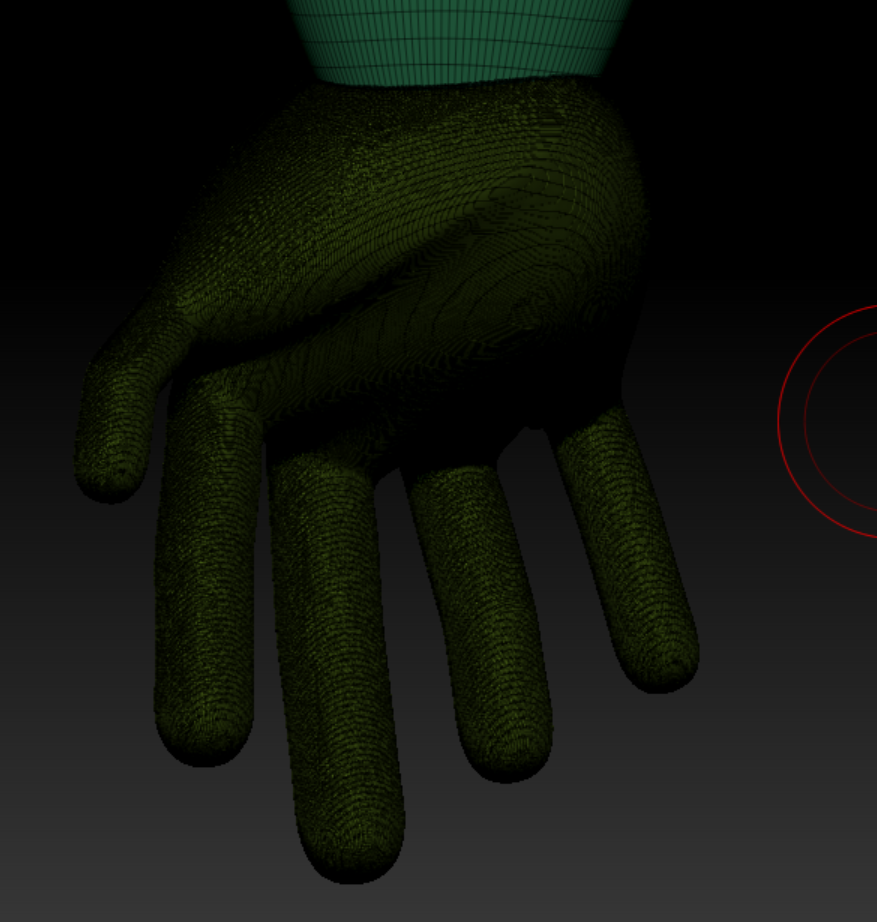
To create the hands, I used ZSpheres. To start, I used append to place a ZSphere into my scene. Once in, I moved the sphere to be at the base of the arm. On the sphere, I placed five smaller spheres. On these fives spheres I placed two spheres of equal size. To do this, I held shift while placing the spheres and it made them equal to the size of the sphere I was placing them on. These would be the fingers and thumb with three joints each. I then used the move tool to pull out the fingers and adjusted them to be off appropriate sizes. I also slightly adjusted the size of the sphere I first placed as it was far too big to be the palm of the hand. Once I was happy with the hands, I used adaptive skin to make them a solid mesh. I then used MakePolyMesh3D to make them an object. To have a hand on the other side I used mirror on x-axis. I then used polypaint to paint the hand the same color as the other shown skin.
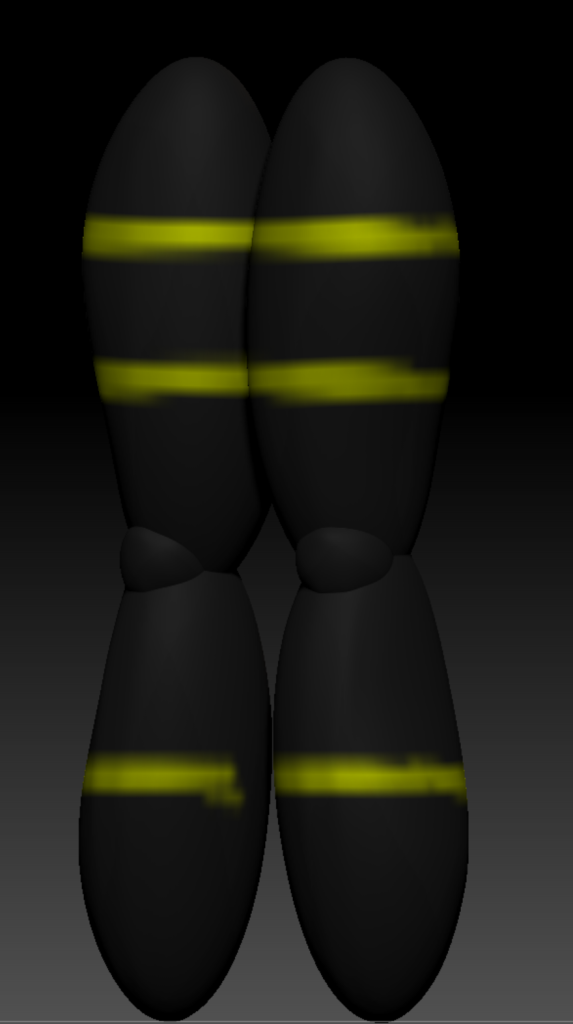
I again used polypaint to paint the legs. I chose the same black as the chest piece for the trousers and used the same yellow to add high visibility strips to them.

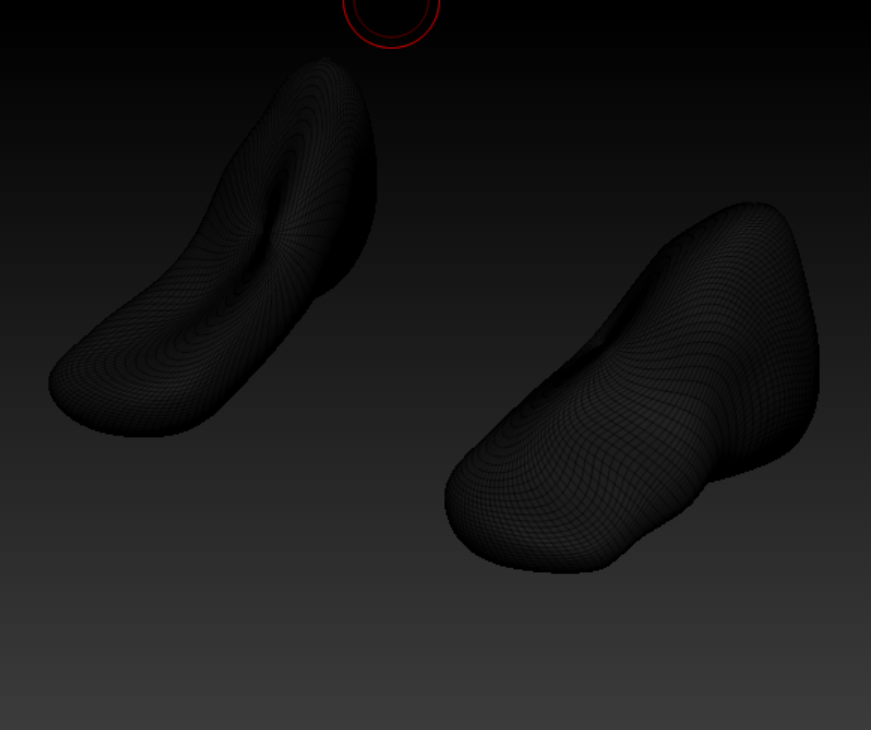
The foot I had made initially was too pointed at the front so I remade it. Using the move brush, I pulled out the font of a sphere and the pushed down to create the look of a foot. I added a slight curve to the bottom to follow the natural curve a foot does. I also used polypaint to paint the feet the same black as the chest and legs.

This is my character once fully painted. I used the merge down function to join all the elements of the character together.
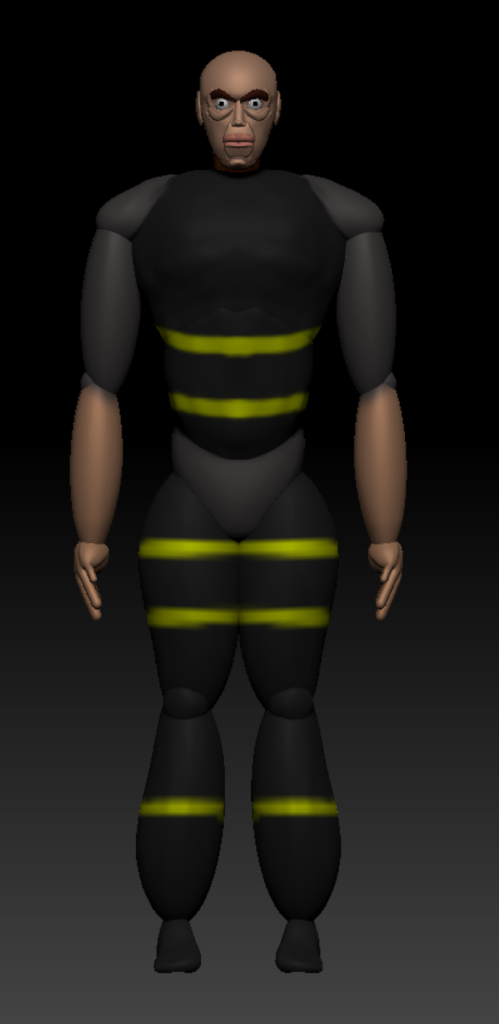
The video below shows a turntable of the character in a t pose.
Ricardo Teixeira () MINDBODY Status [Photograph] Available online: https://www.pinterest.com/pin/364650901065580569/ [Site visited 20/01/2022]
Hezekiah Beatty () muscular system body parts [Photograph] Available online: https://www.pinterest.com/pin/499547783639933724/ [Site visited 18/01/2022]