This lab session was an introduction to rigging.
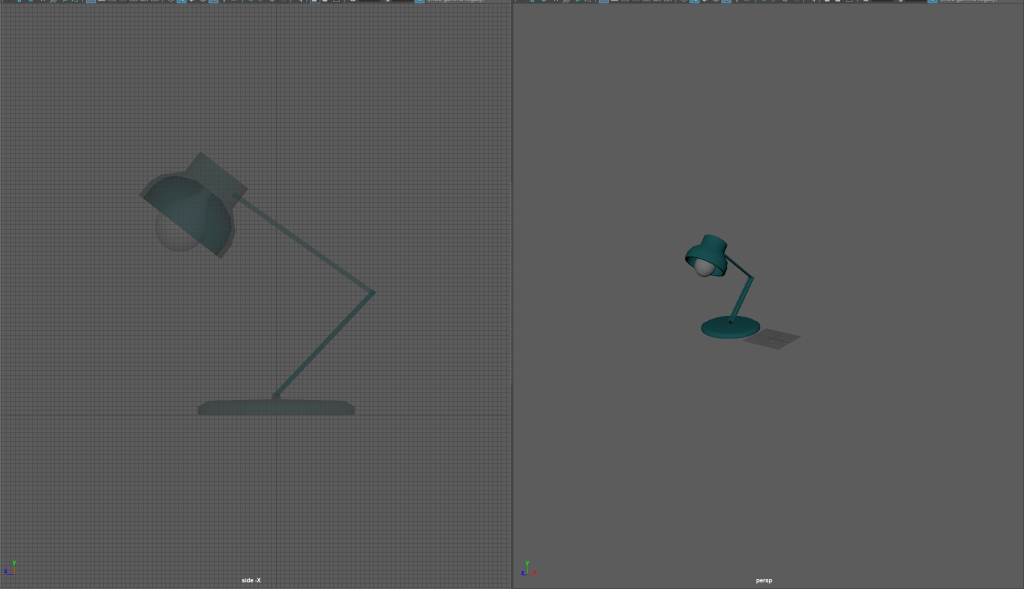
Starting out, I imported the pre-made model lamp into Maya and opened an orthographic side view panel. I then hid the second of the two lamps. The first rigging I would be doing was forward kinematic.
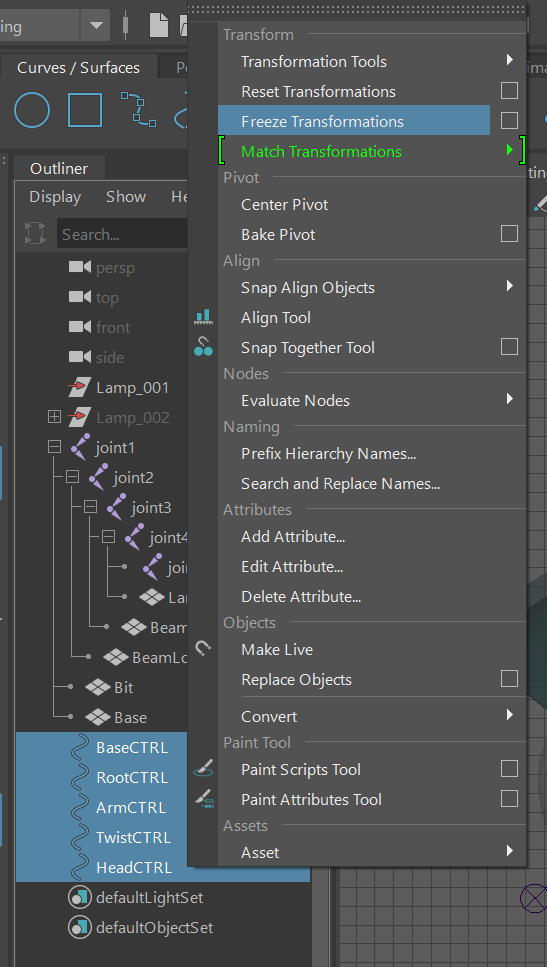
I then froze the transformations of the lamp, I hadn’t moved the lamp so when I added joints they weren’t in the proper position. I moved the lamp and froze transformations again so that it would return to the right spot.
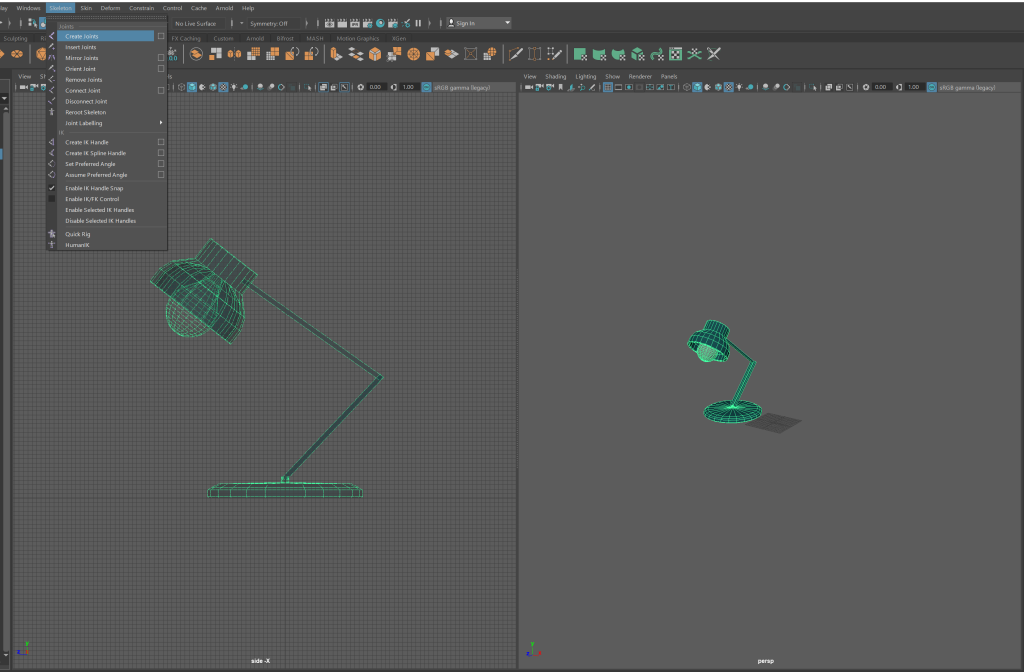
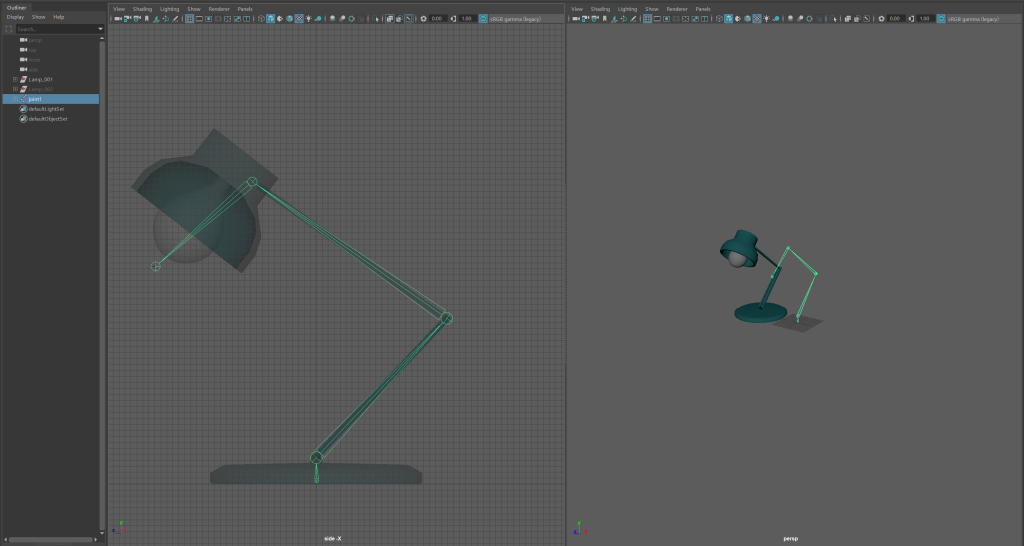
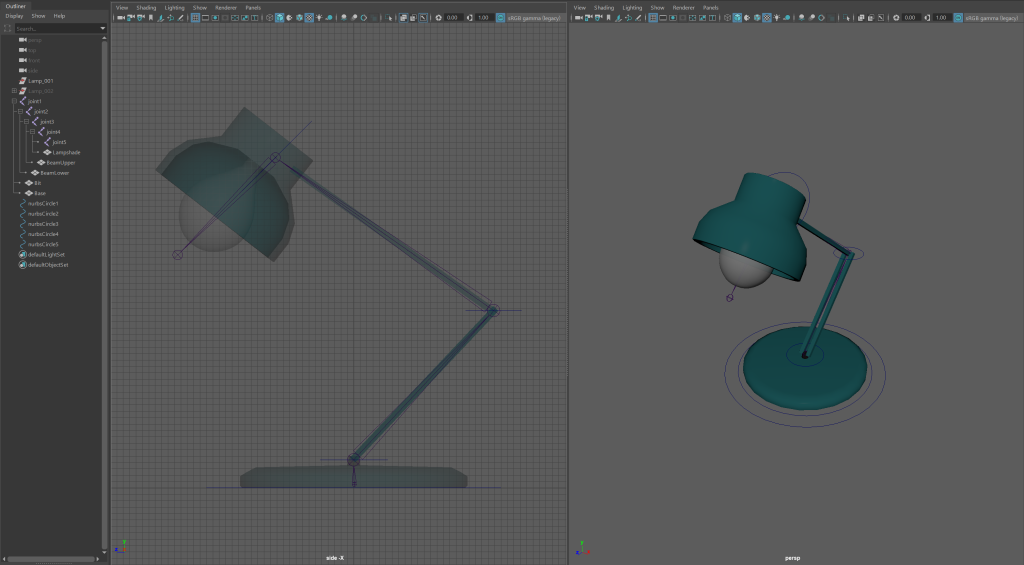
After I had added the joints and made sure they were in the right position, I parented specific parts of the lamp to the joints. I then created nurbs circles and parented joints to them so I could use them as controls for specific aspects of the model.

I also froze the position of the controls so that I could return aspects of the lamp to base positions when animating.
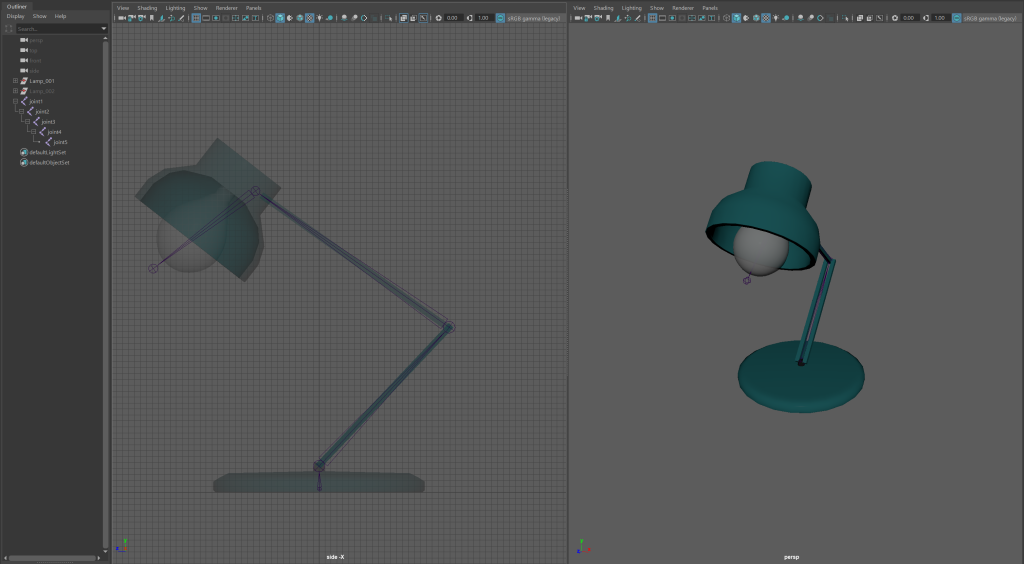
I then went through each control, locking and hiding attributes that wouldn’t be used so that I could more efficiently animate.
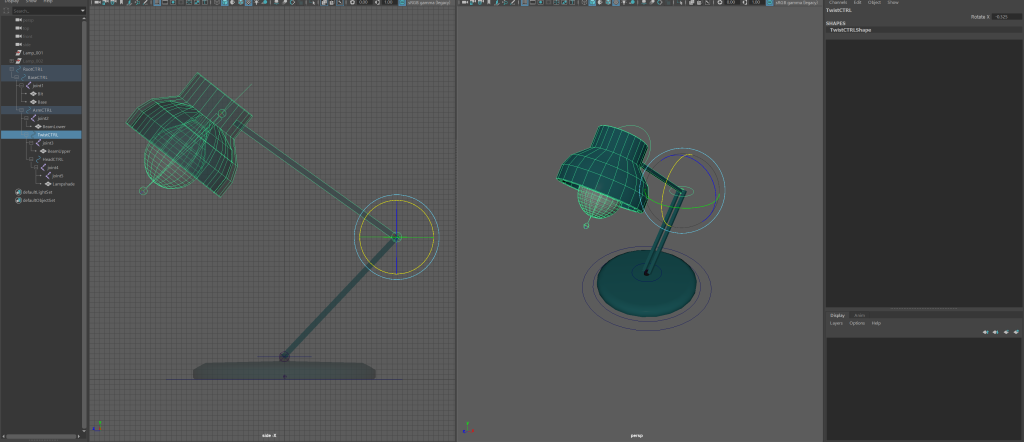
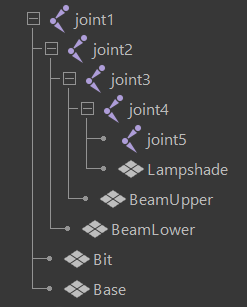
The complete forward kinematic rigging
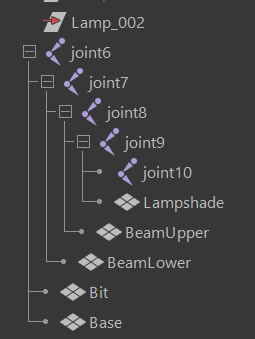
After this, I hid the lamp and revealed the second lamp model. This was to be rigged using inverse kinematics. I then rigged it as I had with the first. Once rigged, I added an IK handle to the lampshade and beam lower joints.
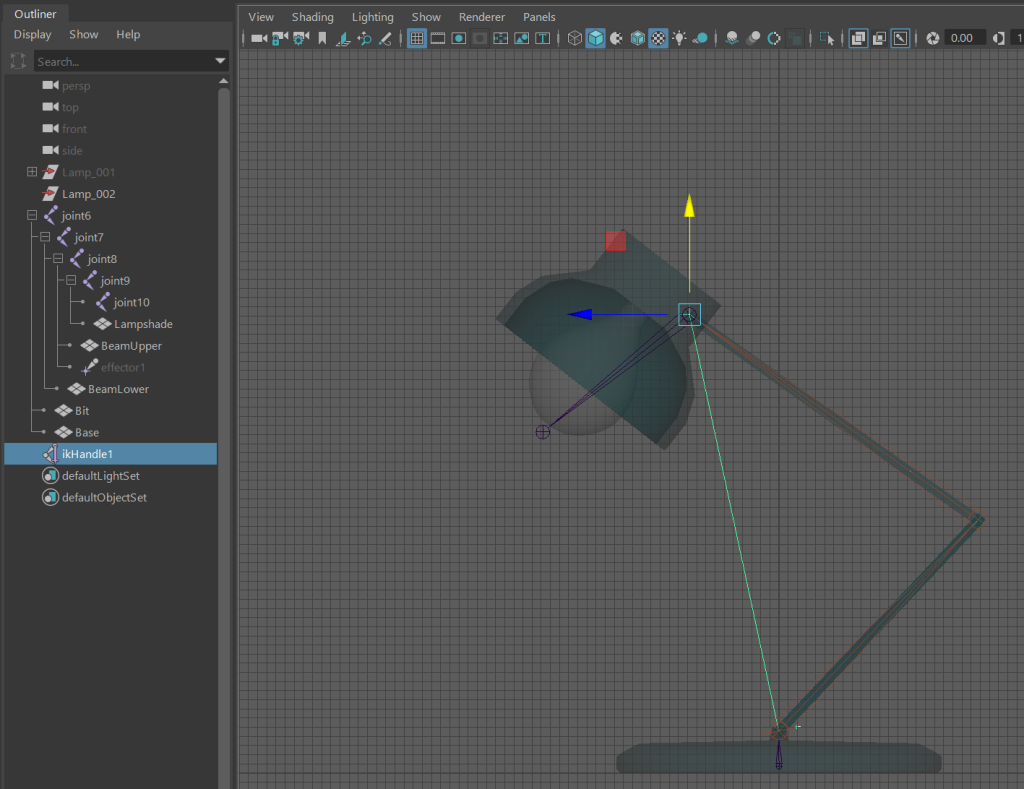
I then added the nurbs circles as I had with the first and parented elements to them so I could use them as controls. Choosing the arm control, I added a pole vector so that when turned, the arm would follow and not turn too far.

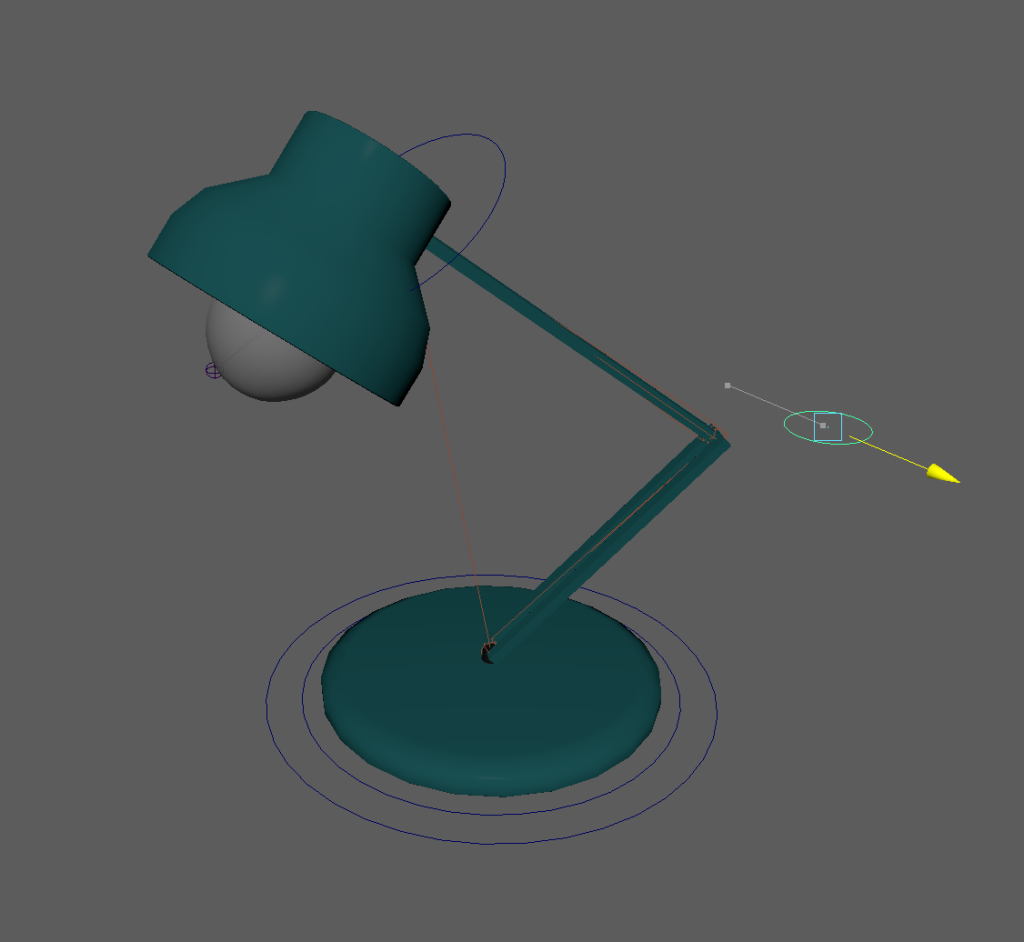
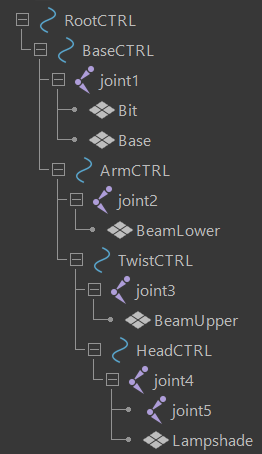
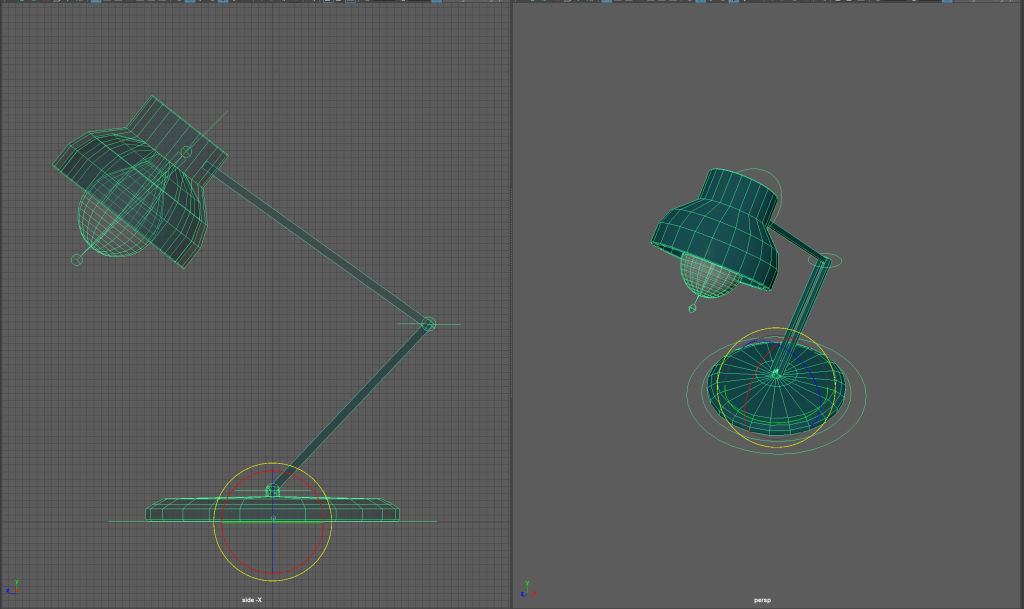
The complete inverse kinematic rigging
After I had complete the inverse kinematic rigging, I added an arnold skydone and a plane. I extruded, beveled and added a new material to the plane. I then added a new camera, lined it up and keyframed the IK lamp to do a small jump. I sequence rendered this animation and then rendered it in Adobe Premier Pro and uploaded it to YouTube.