This weeks lab session had us add controllers to characters, we also had a short introduction to weight painting.
A key point to remember when adding controllers is to freeze the position of the Nurbs circles so that they can be returned to default positions easily.
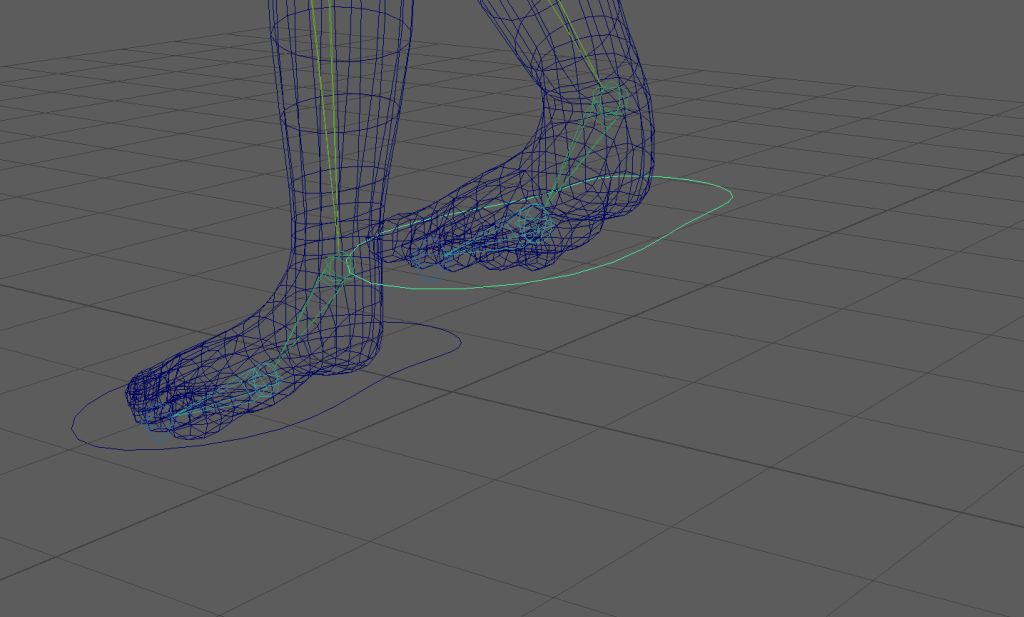
I started by opening the pre-rigged character. I then added a Nurbs circle around the foot and changed the shape to better fit it. To make sure it was in place, I used snap to point to snap the circle to the ankle joint.
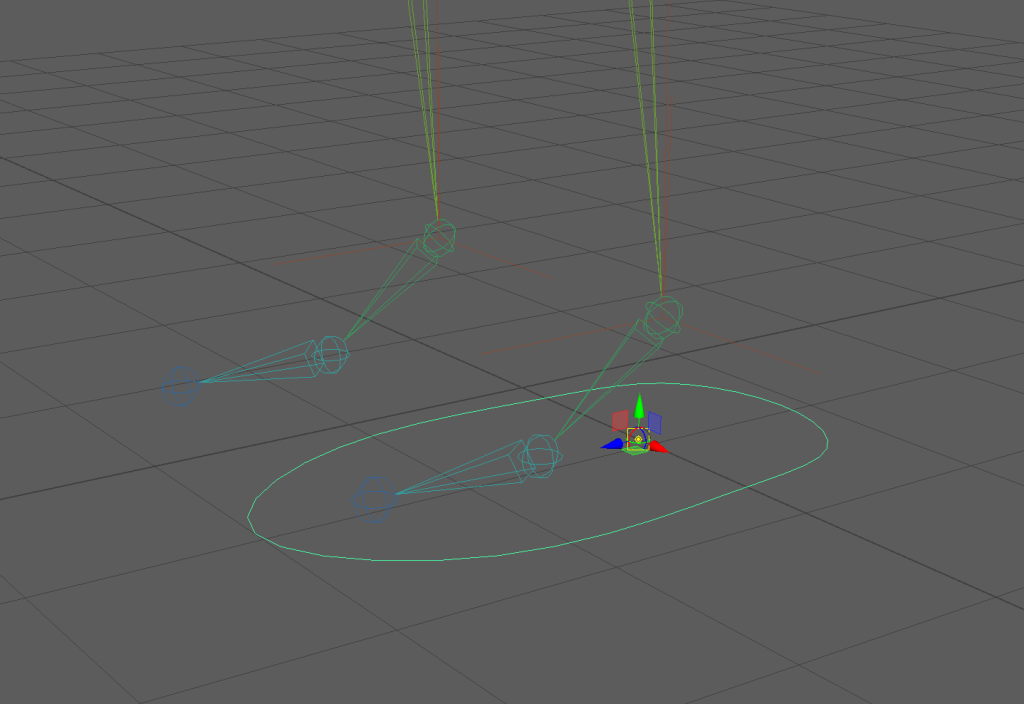
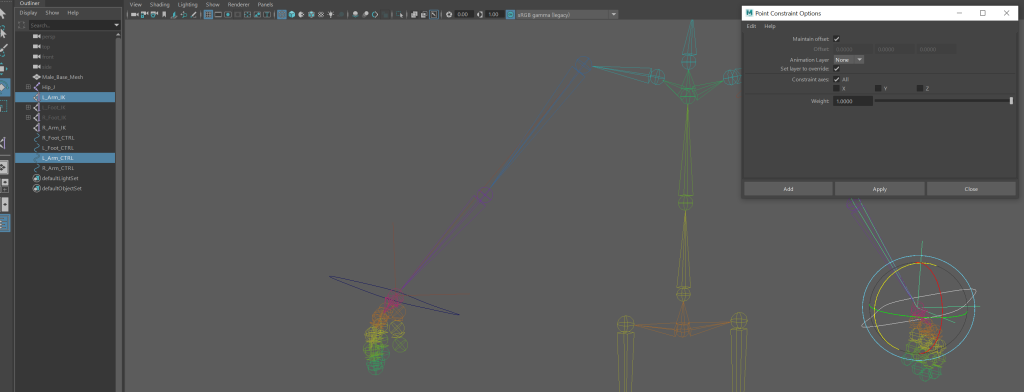
The next step was to use point constraint, connecting the Nurbs circle to the IK handle of the leg. This allows me to move the controller and the leg will move along with it.
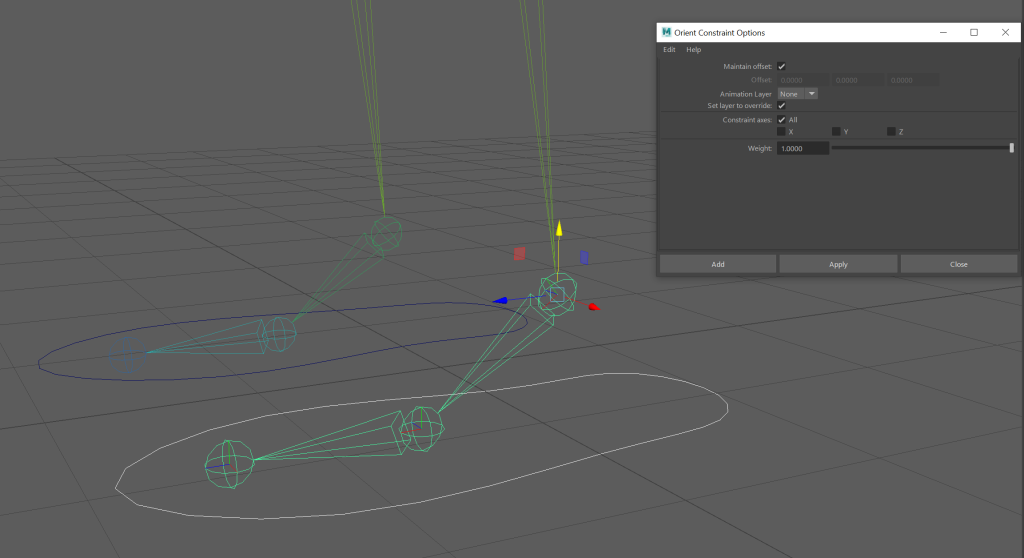
Then I used orient constraint. I connect the controller to the ankle joint. This allows me to orient the controller and the joint will rotate with it.
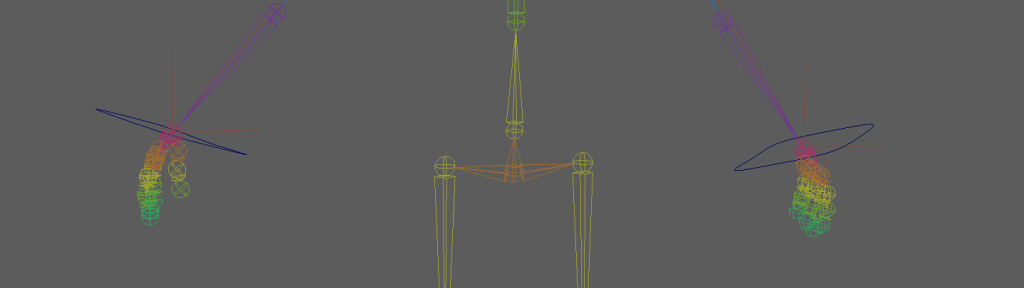
I then repeated the process with the arms.
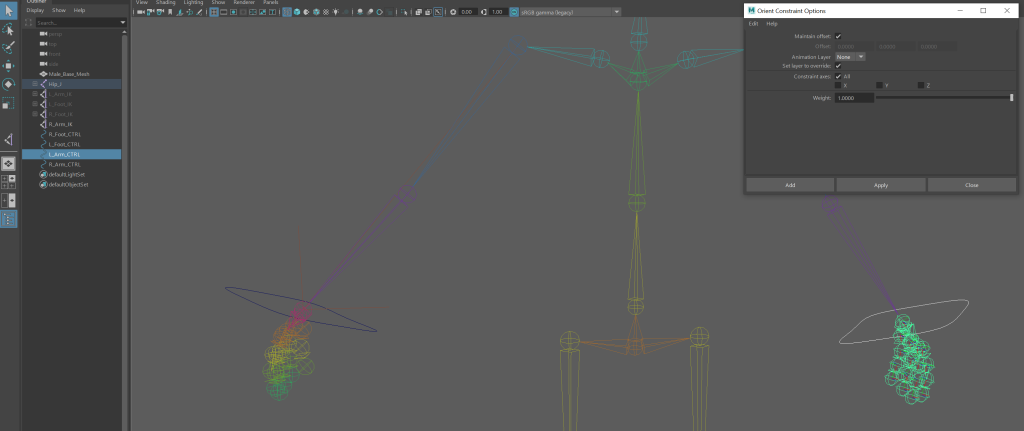
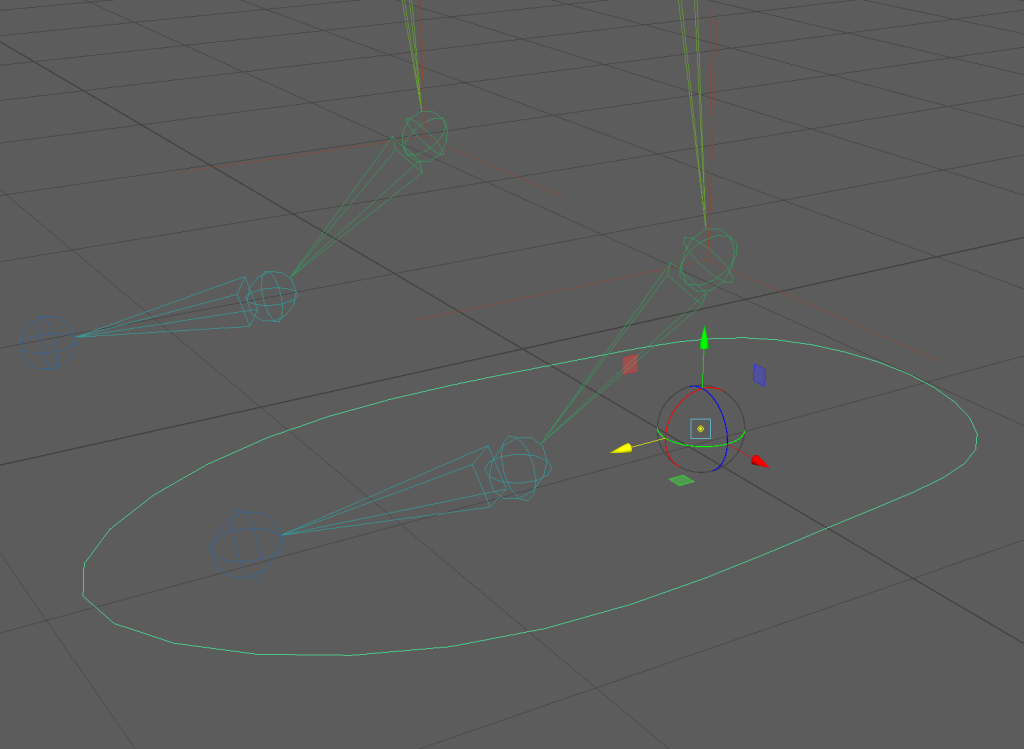
An example of orient constraint on the arm.
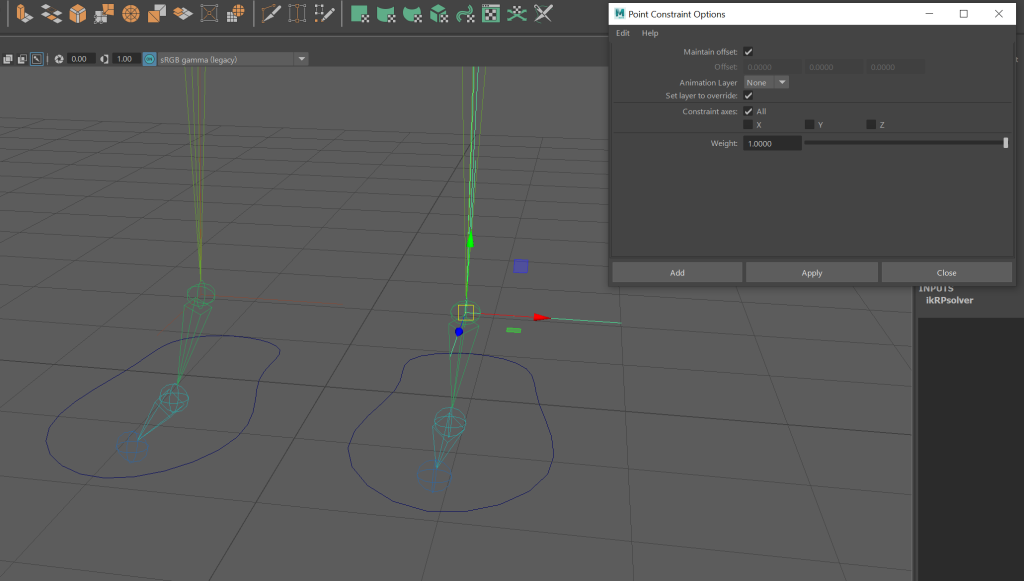
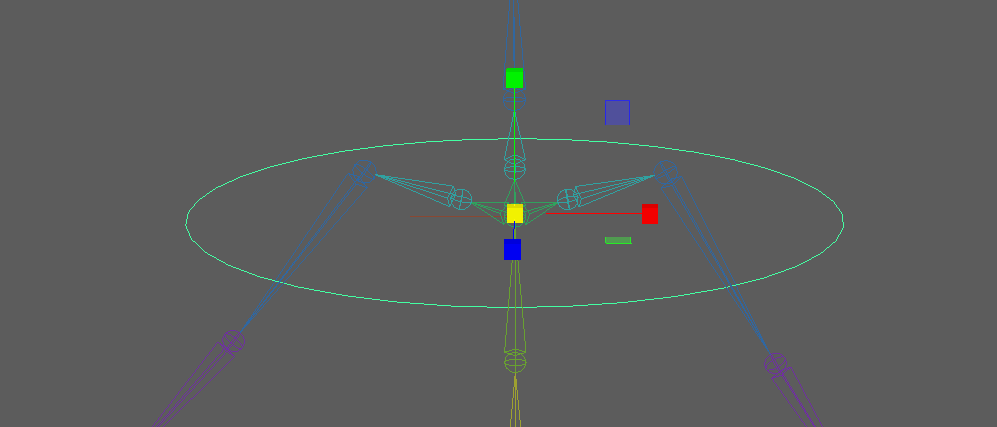
I then added an IK spline to the hip joint, this allowed me to control the entire character from the hip.
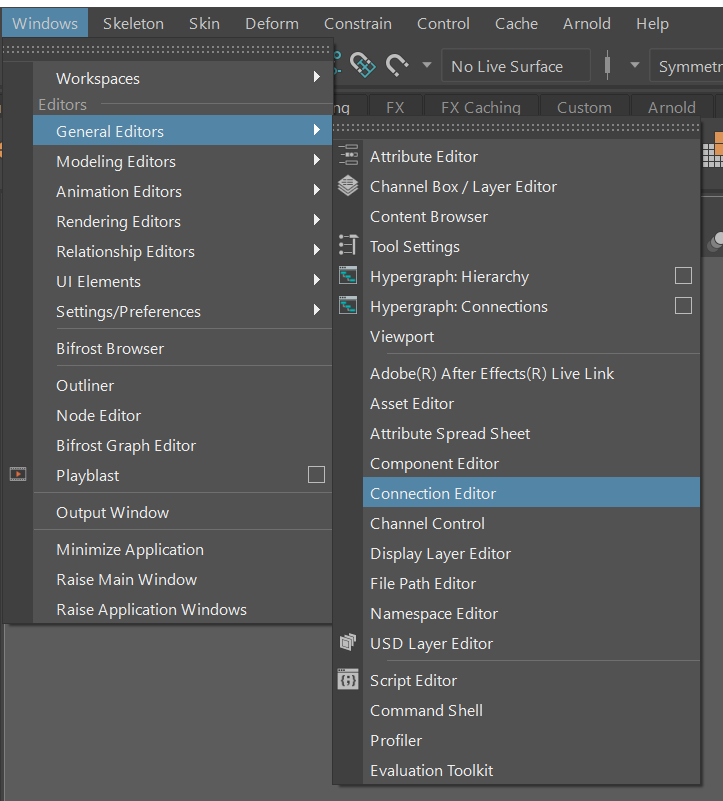
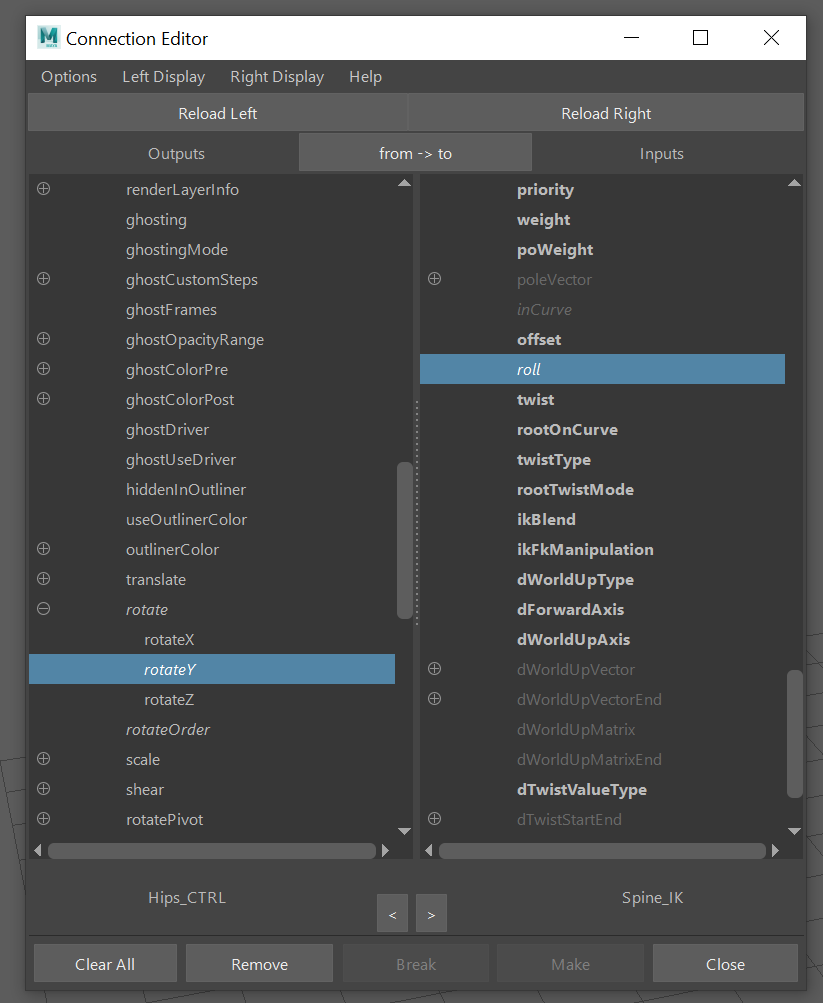
After adding a point constraint to the hip controller, I went into the connection editor and connected the rotate Y of the hip controller to the roll of the spine IK so that I could bend the character at the hips.
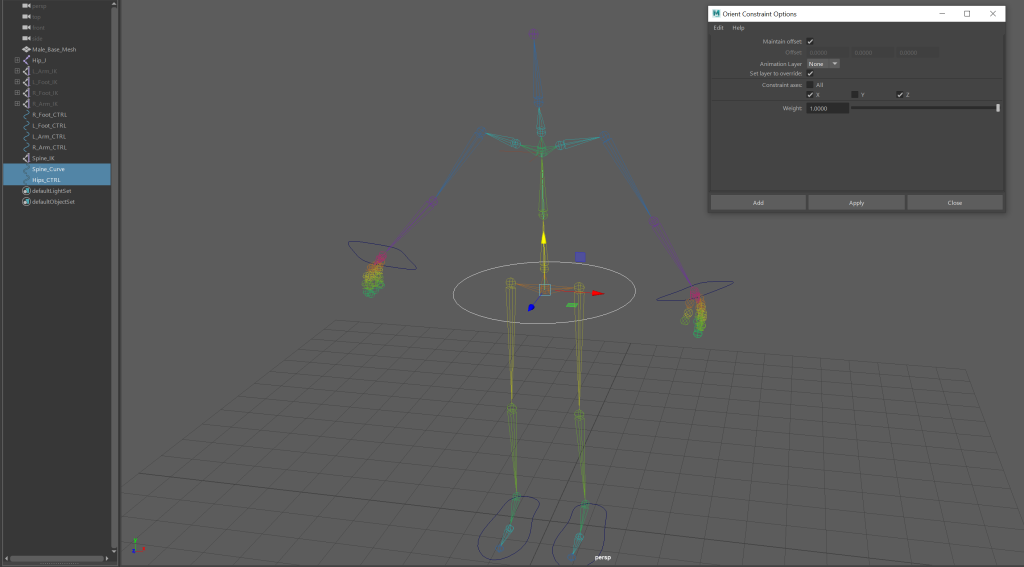
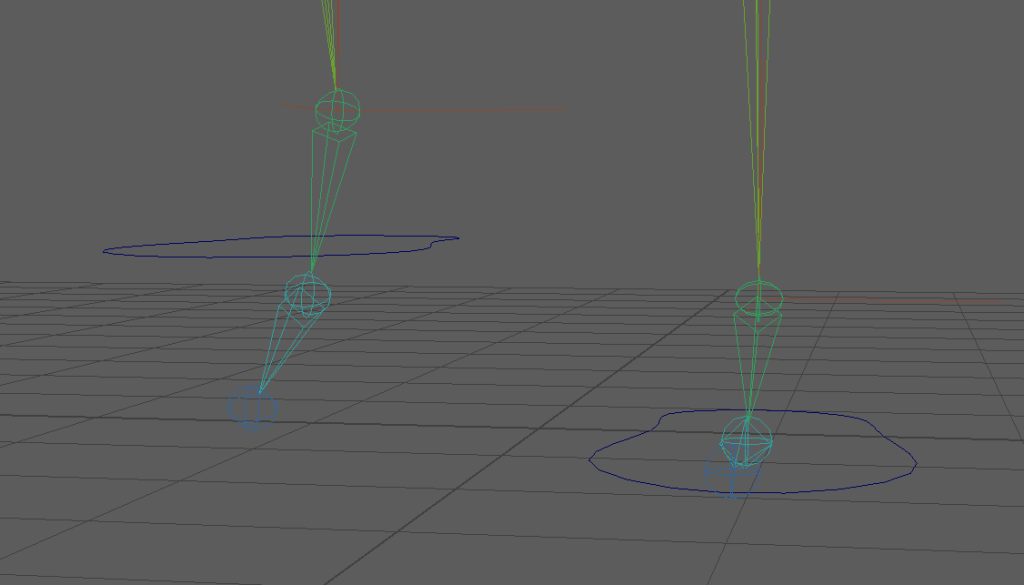
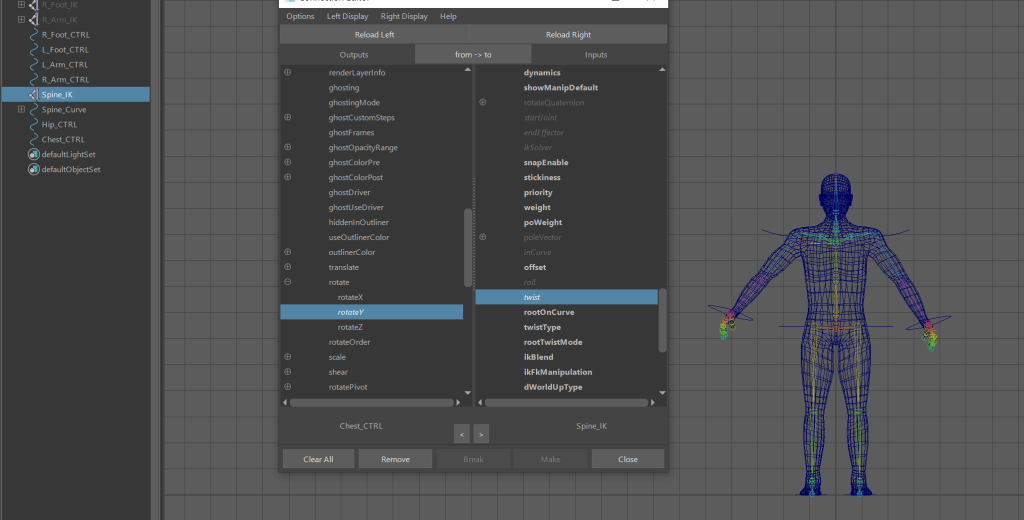
I then added a controller to the chest and connected the rotate Y of the chest to the twist of the spine IK so that the character could be twisted from the chest. To make sure the chest controller follows when the roll is increased, I made the chest controller a child of the hips controller.
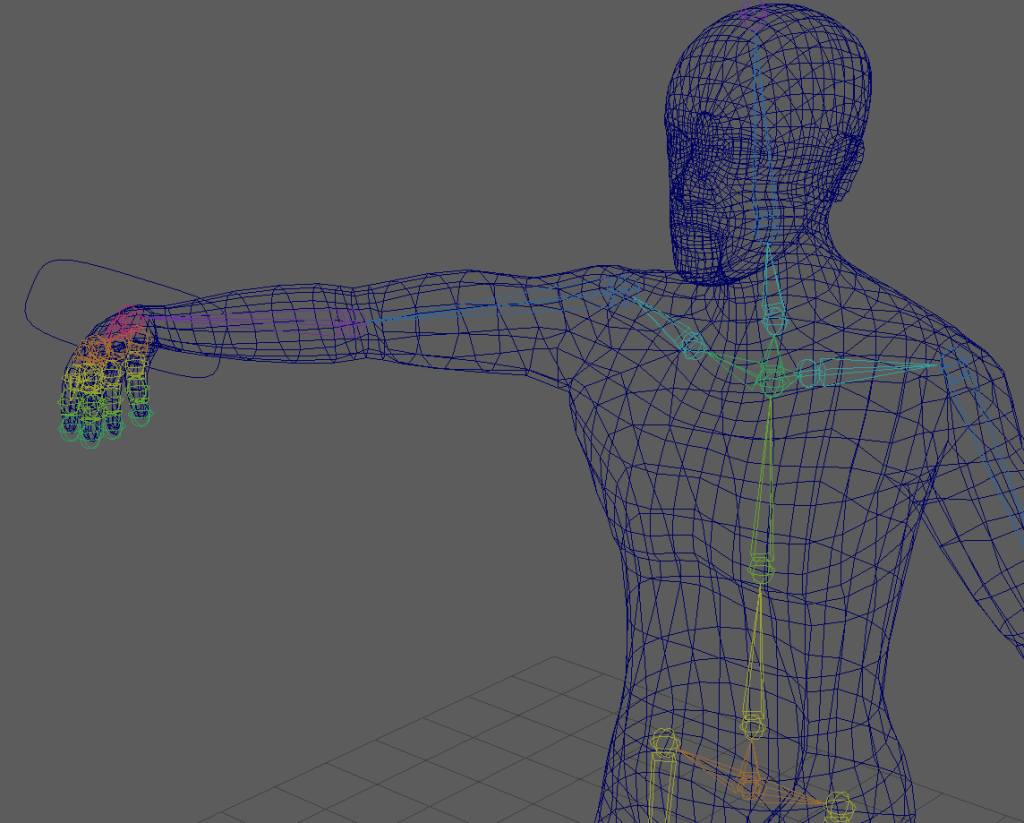
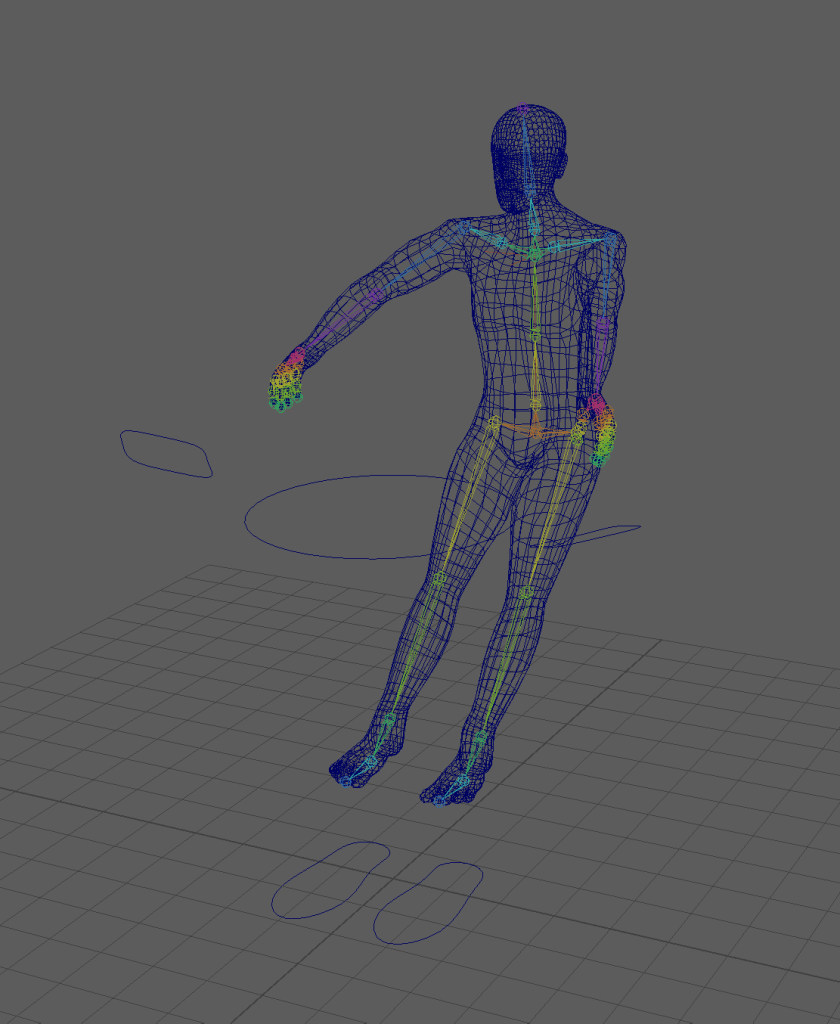
Once I had added controller to the character, I moved joints to extreme positions to find areas that would deform. Once I found an area under the arm that deformed when the arm was moved, I opened the paint skin weights tool and chose the shoulder joint.
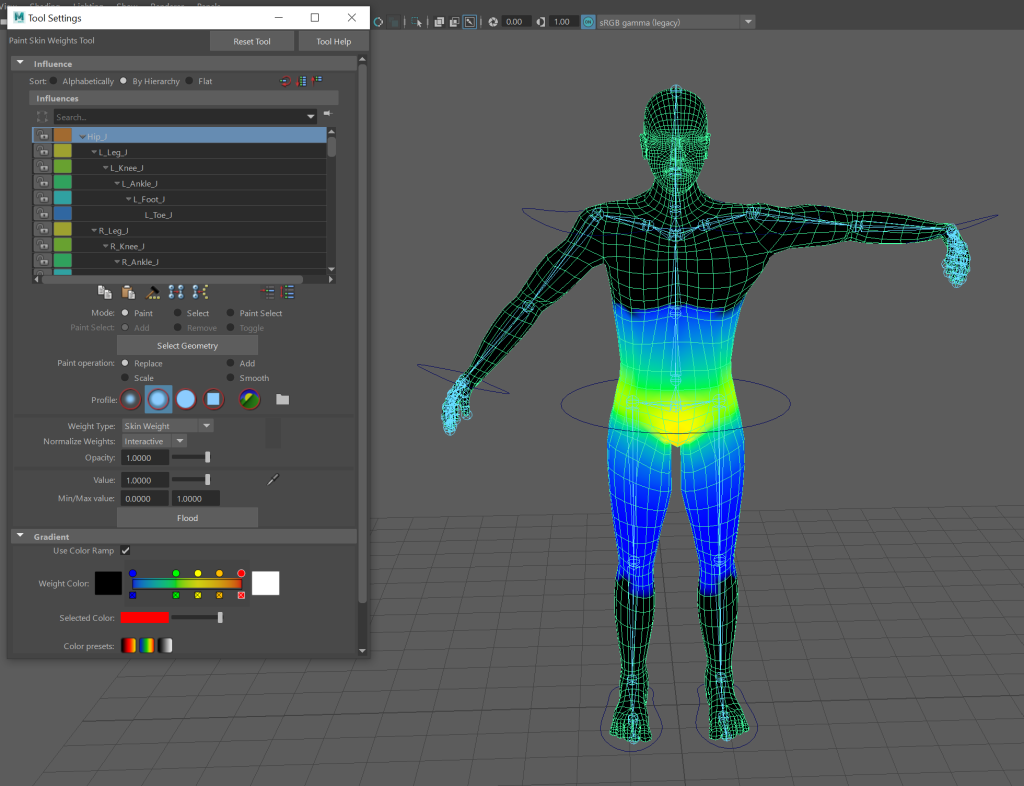
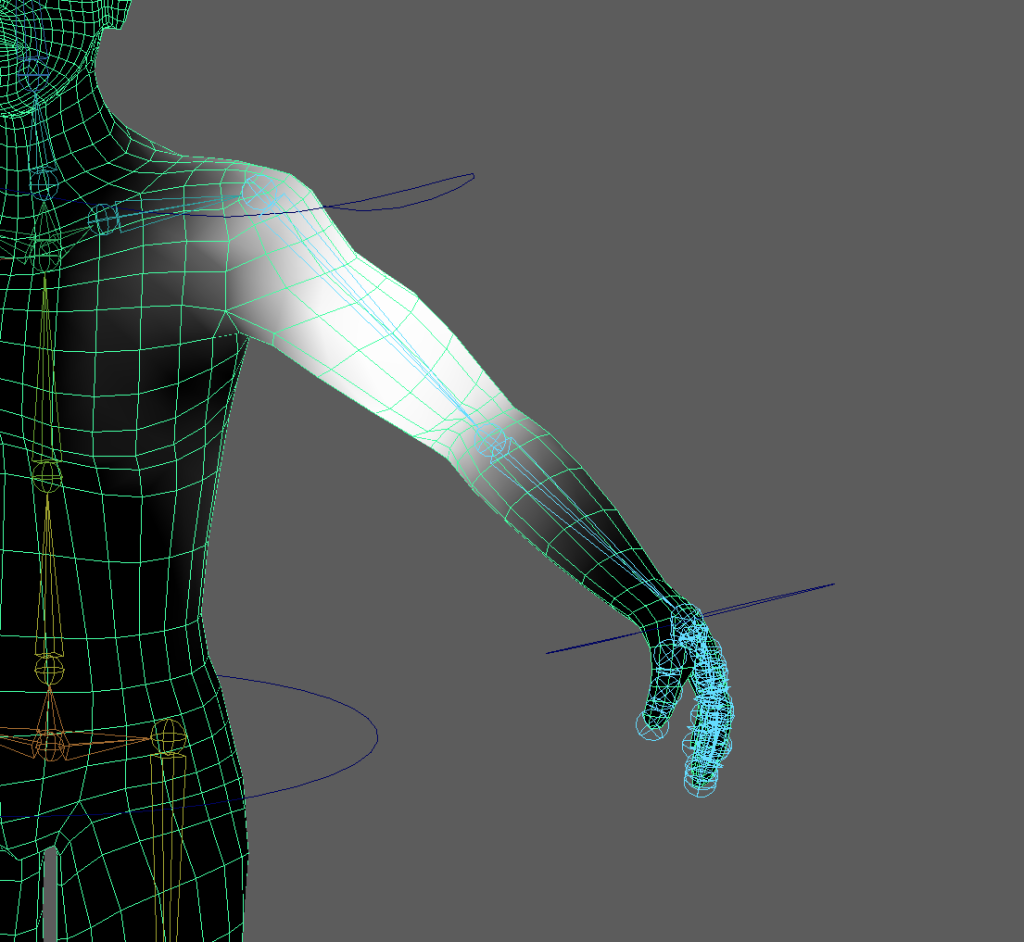
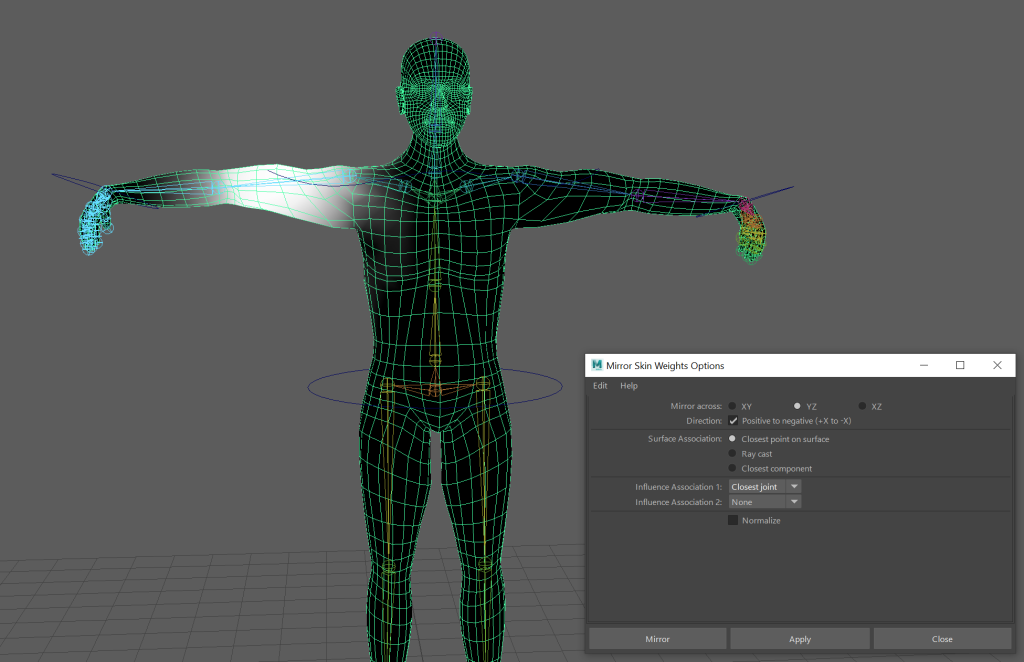
I then painted the areas that were being deformed with a weight of zero so they would be effected when the arm is moved. After moving the arm again to make sure it didn’t deform, I mirrored the weight paint.
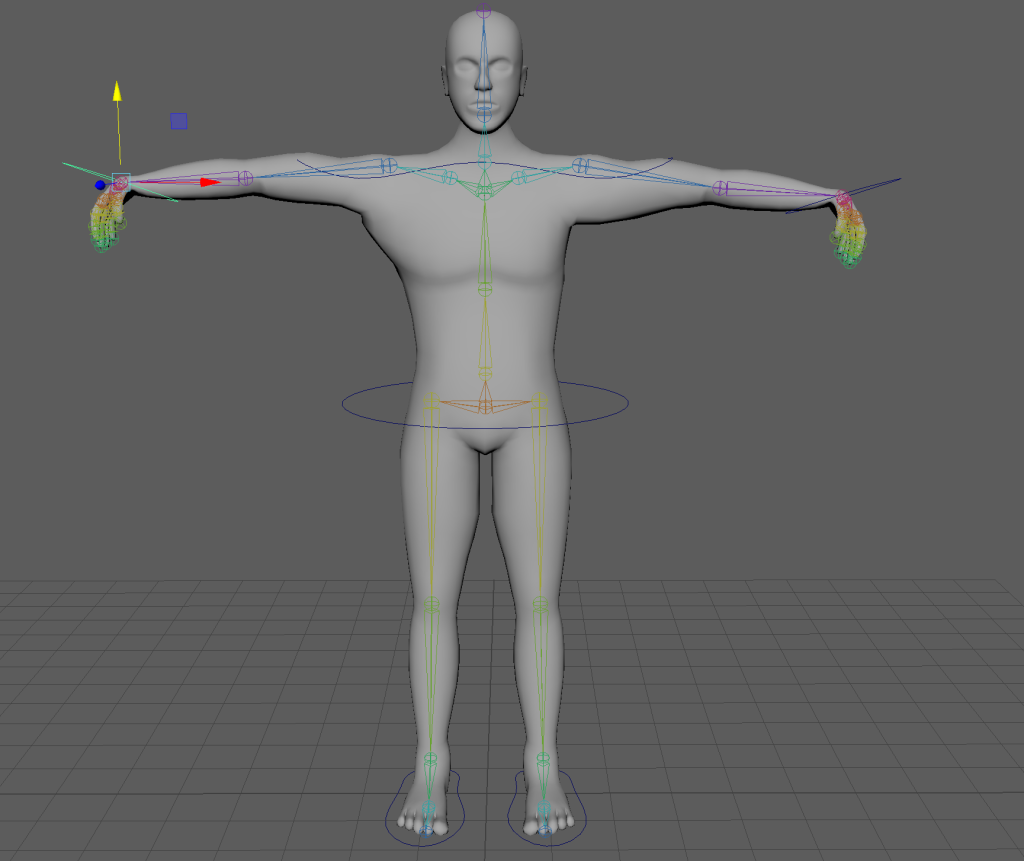
The left arm is deformed due to being unchanged whereas the right arm is normal after being weight painted properly.