This post will cover the testing of liquid simulation using Blender.
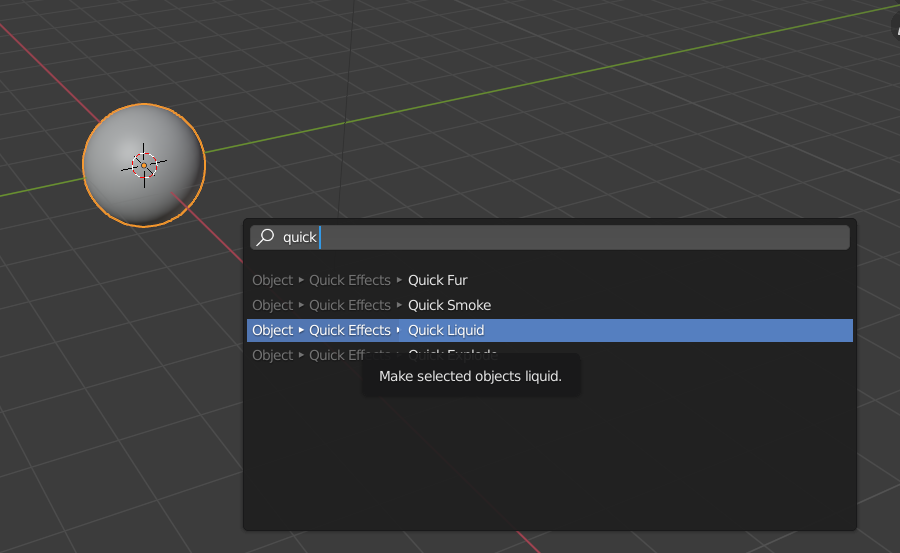
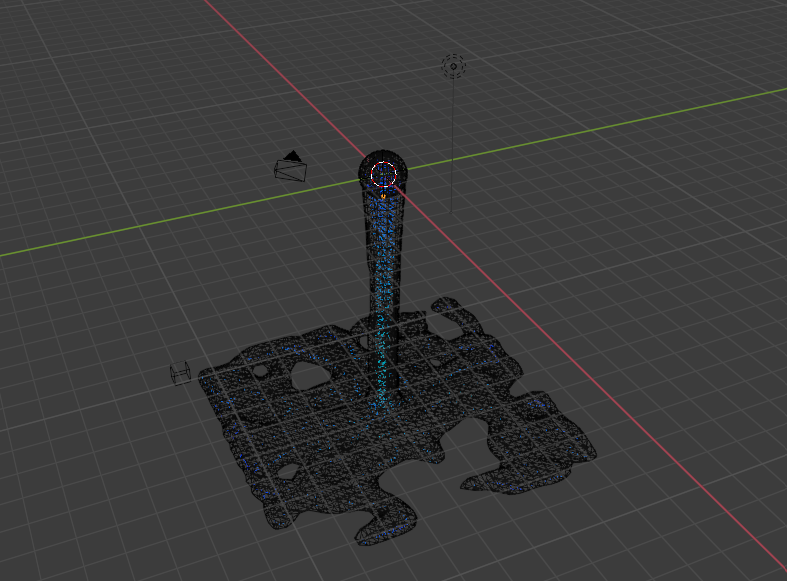
To start, I created a UV sphere and smoothed it. I then added a quick liquid effect.
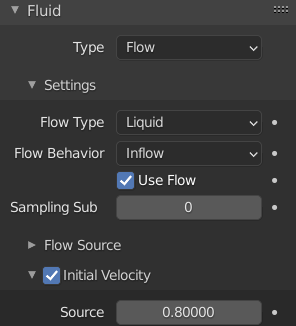
Within the settings, I altered the type to modular and enabled initial velocity. I changed this value to 0.8. Doing this causes the liquid to flow down slower, making it look more realistic.
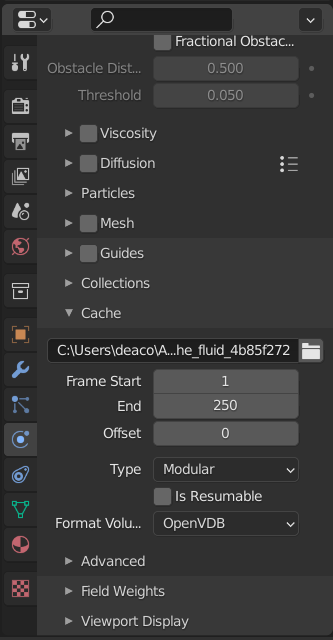
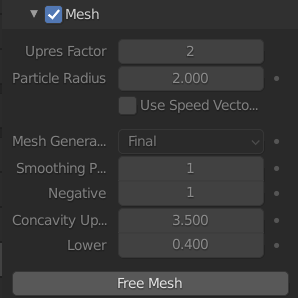
Once I had altered the necessary settings, I baked the mesh so that the simulation would use the mesh as the source.
Next I added an HDRI, Scythian Tombs 2 (Majboroda, 2023) image as the background and baked the lighting. Finally, I added a changed the material colour of the liquid simulation to blue. I then rendered the animation as an image sequence.
An example of the simulation before adding the HDRI and material colour 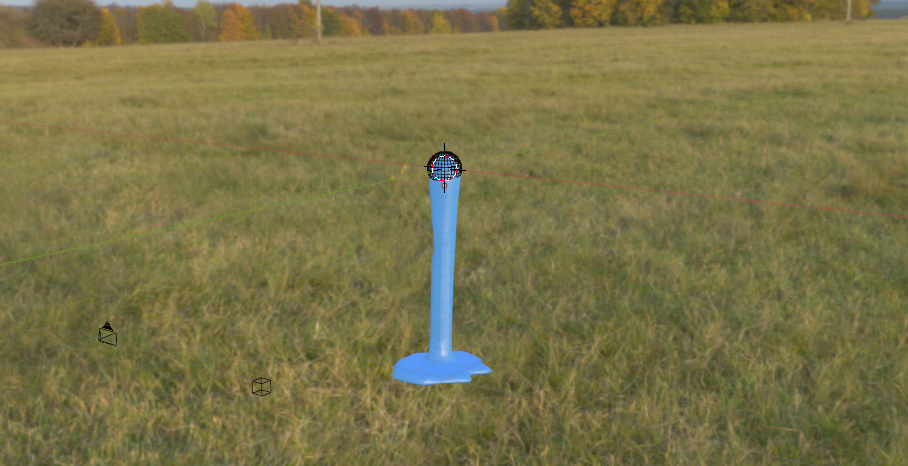
Once the sequence of images had rendered, I imported them into Blender’s video editor as an image sequence.
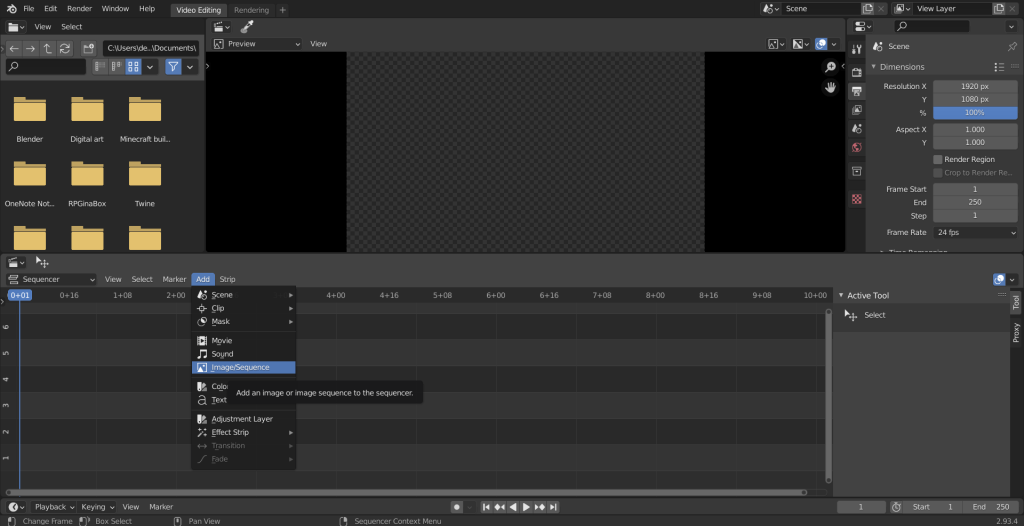
This is the output of the liquid simulation test.
References –
Majboroda, S (2023) Scythian Tombs 2 [Image] Available online: https://polyhaven.com/a/scythian_tombs_2 [Accessed 15/03/2023]