This post will cover the testing of ocean simulation in Blender.
To start, I created a plain and added the ocean modifier to it. This will cause it have properties similar to that of the ocean, those being waves, depth, foam, etc. The can all be manipulated and keyframed during animation.
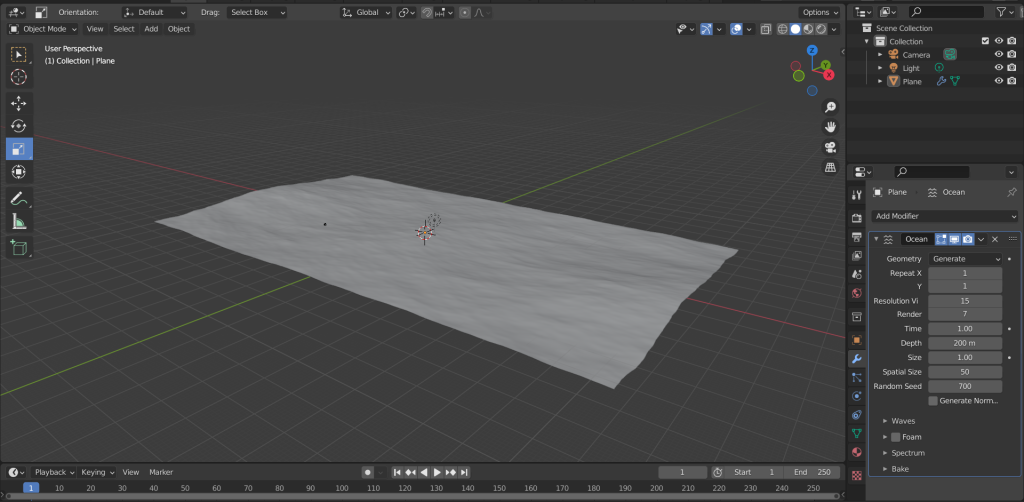
A plane with the ocean modifier applied.
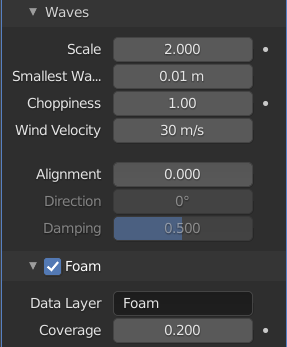
After applying the modifier, I altered the scale of the waves so that they would be slightly rougher. I then enabled foam and set it quite low as not to have too much covering the plane. I then changed the name of the Data Layer to Foam so that I could change its appearance in the material.
I then created the material for the plane. To start I changed the base colour to blue and lowered the roughness to zero so that it would have a more realistic appearance. I then added an attribute node and connected it to a ColorRamp. I named the attribute foam, this allowed me to edit the foam more precisely. I connected this to an emission node and connected all this to a shader node, then to the output.
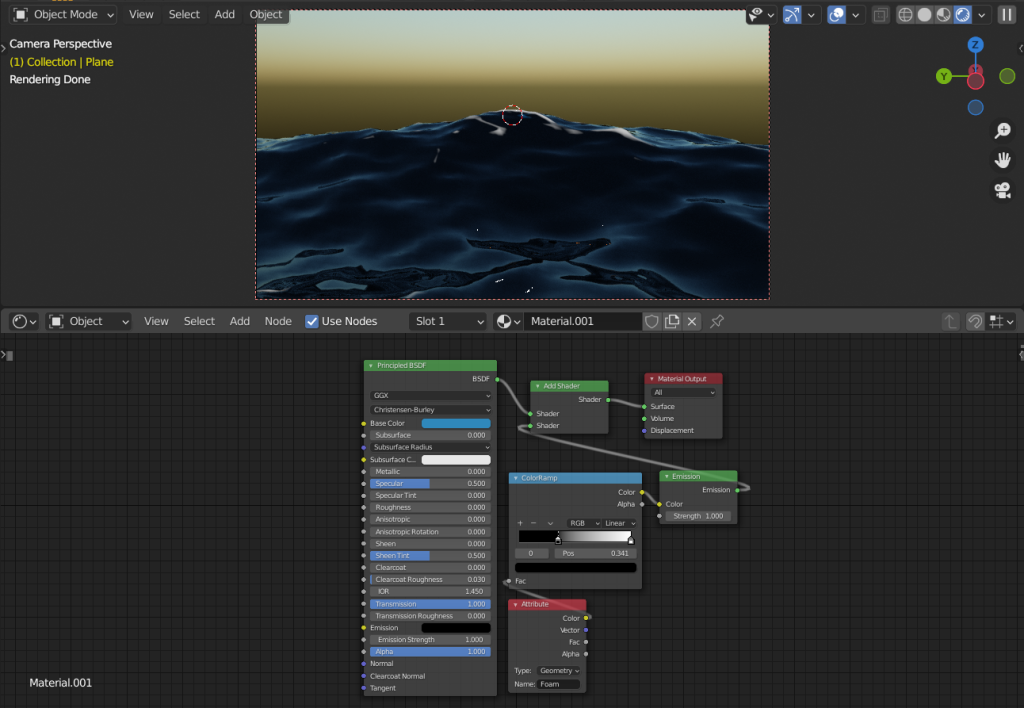
A real-time view of the material applied to the plane.
Finally, I keyframed the time element of the ocean modifier. This caused the waves to flow.

An image of the animation being keyframed.
Although the initial animation was meant to be 240 frames, the render was taking a long time due to the detail of the ocean simulation so I shortened it.