After creating and texturing the assets, I started creating the animation.
I first animated the assets within the bedroom. As the animation progress from the start, the assets in the room rise and rotate, they then disappear and the room itself falls beneath the user and the ceiling rises. Each assets was individually keyframed to rise and rotate at slightly different times to make the animation feels less stiff. Once risen, the assets then disappear, this was done by lowered the scale values to 0. At the end of the animation, the room reforms around the user, to do this I pasted the previously set keyframes in reverse at the end of the timeline. This causes the assets to reappear and fall down to their starting positions.
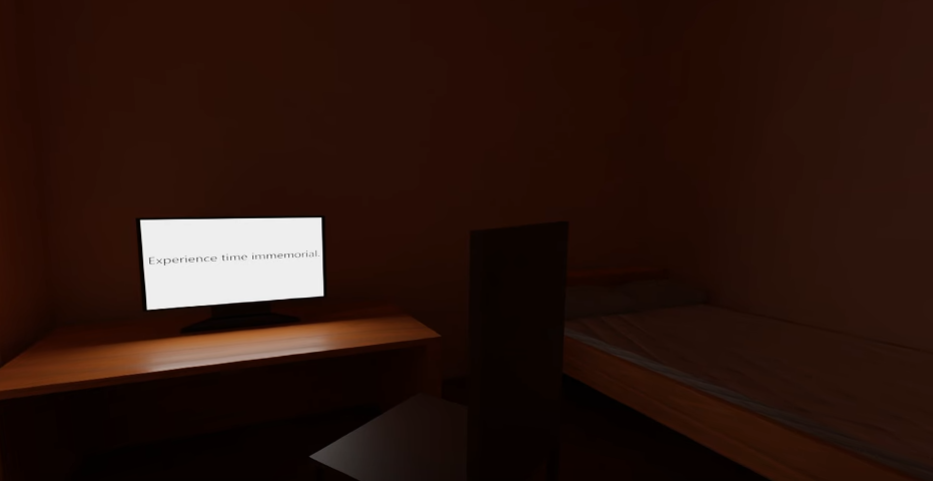
An image of the start of the animation. 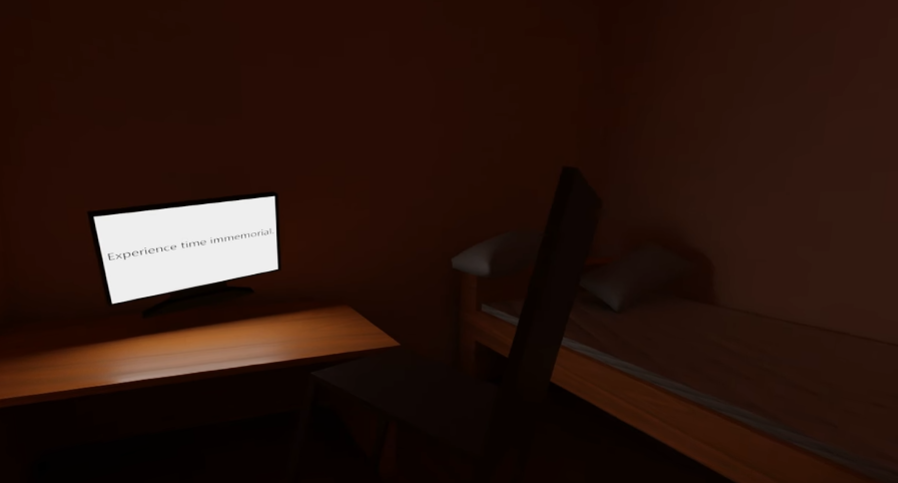
An image from a few seconds into the animation. The assets have risen and rotated slightly. 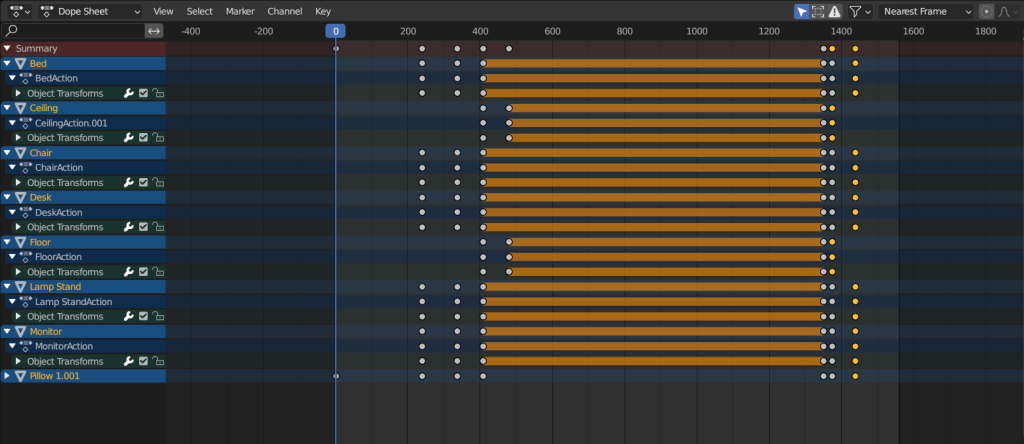
An image of the timeline showing the keyframes of the assets within the bedroom as well as the walls and floor.
After finishing the animation of the bedroom, I moved onto animating the planets and sun.
To make the planets orbit around the sun model, I made them all children of an empty cube placed within the sun asset. I then keyframed the Z rotation of the empty, causing the planets to move around the sun as if orbiting. Then, the Z rotation of each planet was individually keyframed so that they would spin as they orbit the sun. Each value was keyframed differently so that the planets would rotate at various speeds.
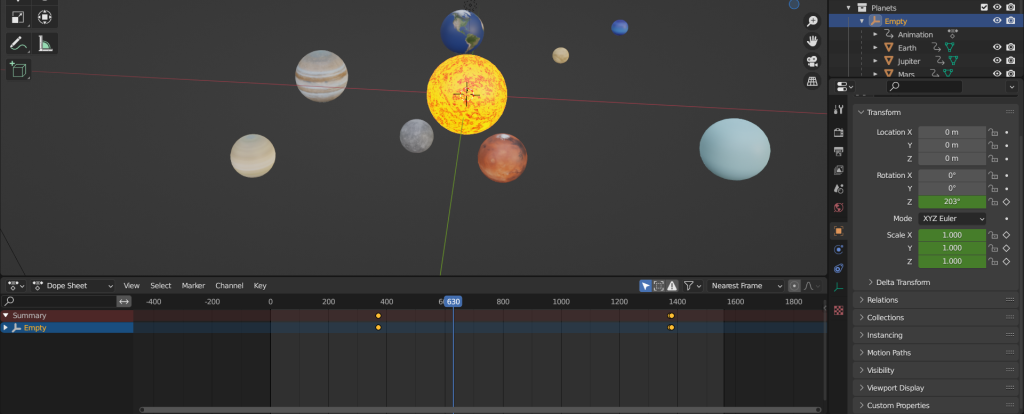
An image of the scene, timeline and object transformations showing the keyframing of the empty used for planet orbiting. 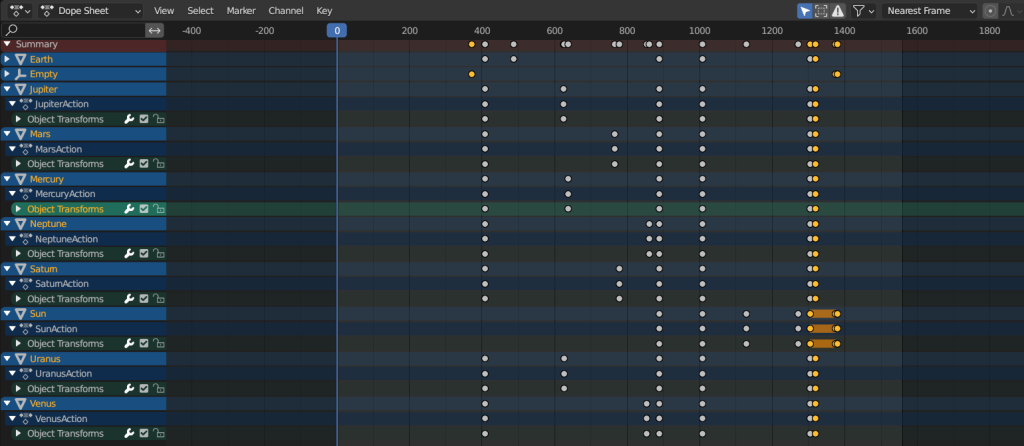
An image of the timeline showing the keyframes of each planet, the sun and the empty.
As the colour of the sun would change when it grows and shrinks, I keyframed the value present on the colour ramp within the sun assets texture as well as the scale value. This caused the asset to change colour as it grew and shrank.
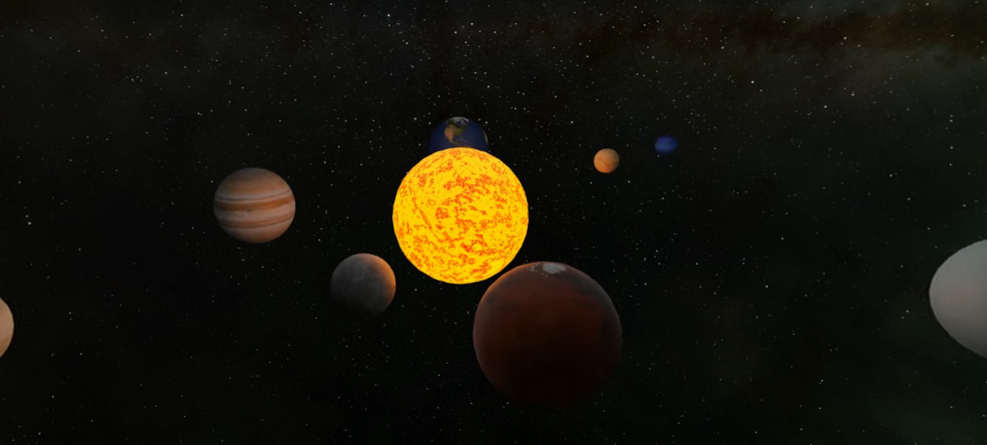
An images of the space scene as first seen by the user. 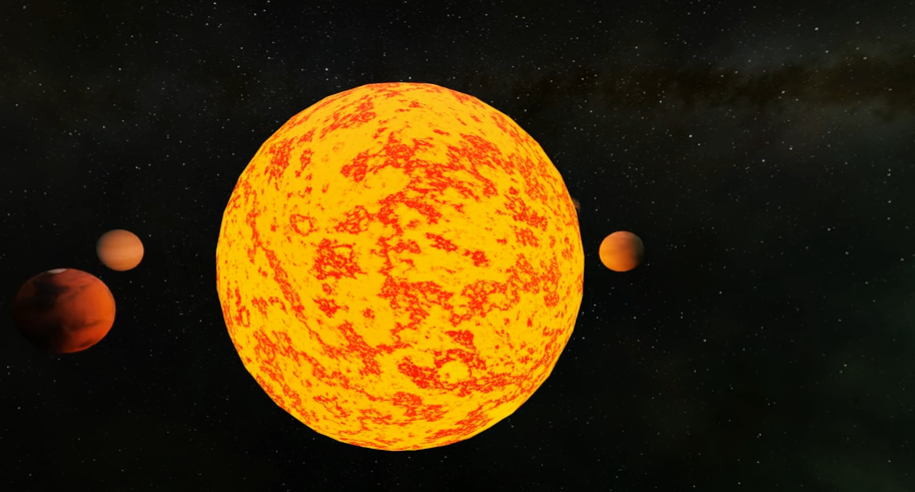
An image of the space scene with the sun expanding. 
An image of the space scene with the sun shrinking.
After finishing the keyframing, I formatted the animation so that it would render at 24FPS and 4K quality. Increasing the resolution percentage to 400 percent causes the animation to be rendered at 4k. I also enabled denoise so that the animation would look clearer when rendered. I rendered the animation as individual images rather than a video file, this is so that there was less chance of crashing or corruption during rendering.

A screenshot of the formatting of the scene. 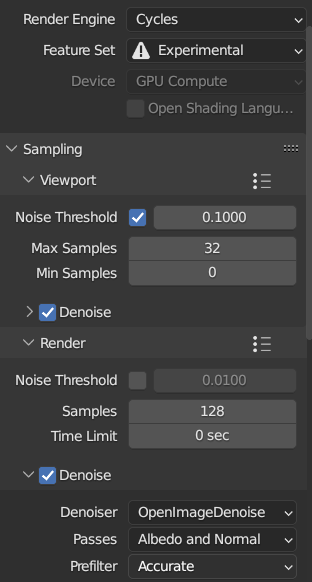
An image of the denoiser.
After the frames had rendered, I added them into the video editor in blender as an animation sequence. I then rendered this at the same settings I rendered the frames at, this time the output would be a video file rather than individual frames.
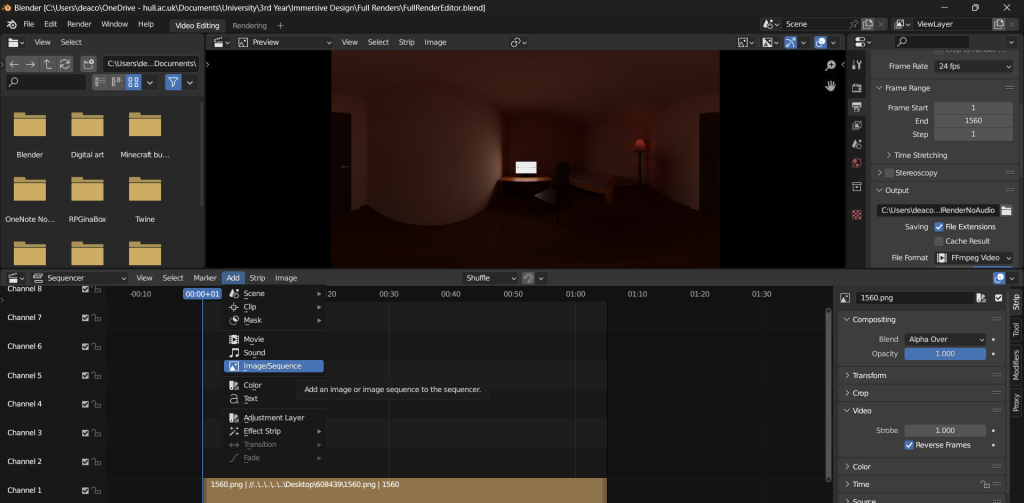
An image of the frames added as an animation sequence.
Once rendered, I used the spacial media metadata injector to inject metadata into the rendered animation file, This allows the animation to be viewed as a 360 degree video when uploaded to Youtube.
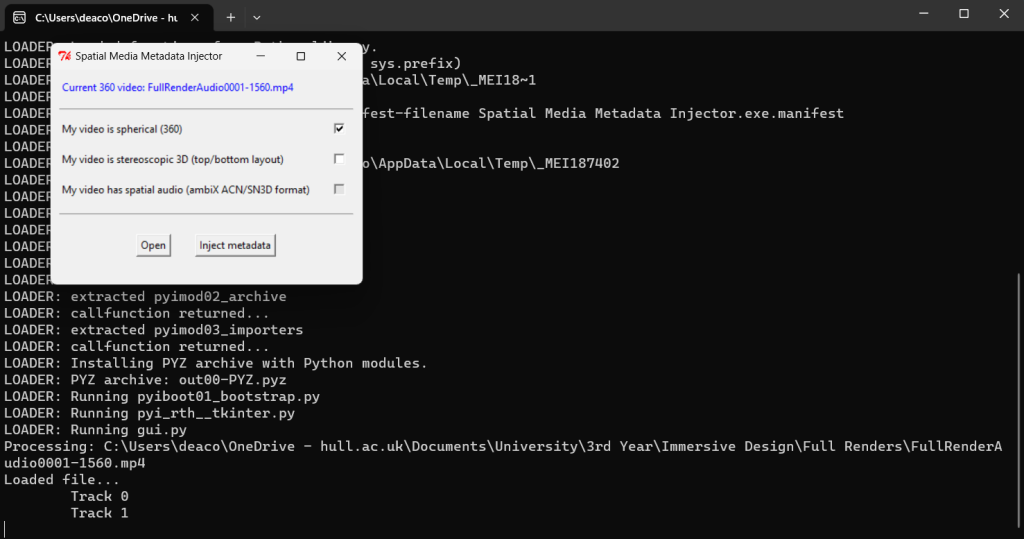
An image of metadata being injected into the animation file.
Throughout this animation I have made effort to demonstrate the various principles of animation. Squash and stretch is shown throughout with the equal changes of scale. Staging is show when the users attention is guided first to the monitor then to the planets. Arc is demonstrated with the movement of the planets around the sun. The use of audio along with actions demonstrates anticipation with the growing and shrinking of the sun. Secondary action is displayed with the growing of the sun and disappearance of the planets as well as the return of the room and the assets within.